
Garlic is a member of the Allium family whose relatives include onions, shallots, and leeks. Indispensable to most food-lovers and cooks, garlic has been used medicinally and as a food for thousands of years. Indeed, it is one of the world’s oldest known horticultural crops.
Sure, you can buy garlic, but for the best flavor - and an incredible sense of satisfaction - nothing beats growing it yourself. Unlike most vegetables, garlic is planted in the fall but not harvested until the following summer, making it a very-long-season crop that’s worth the wait. In fact, it can be very encouraging to plant something new in late fall when all around you, most plants are fading in anticipation of winter.
What is seed garlic?
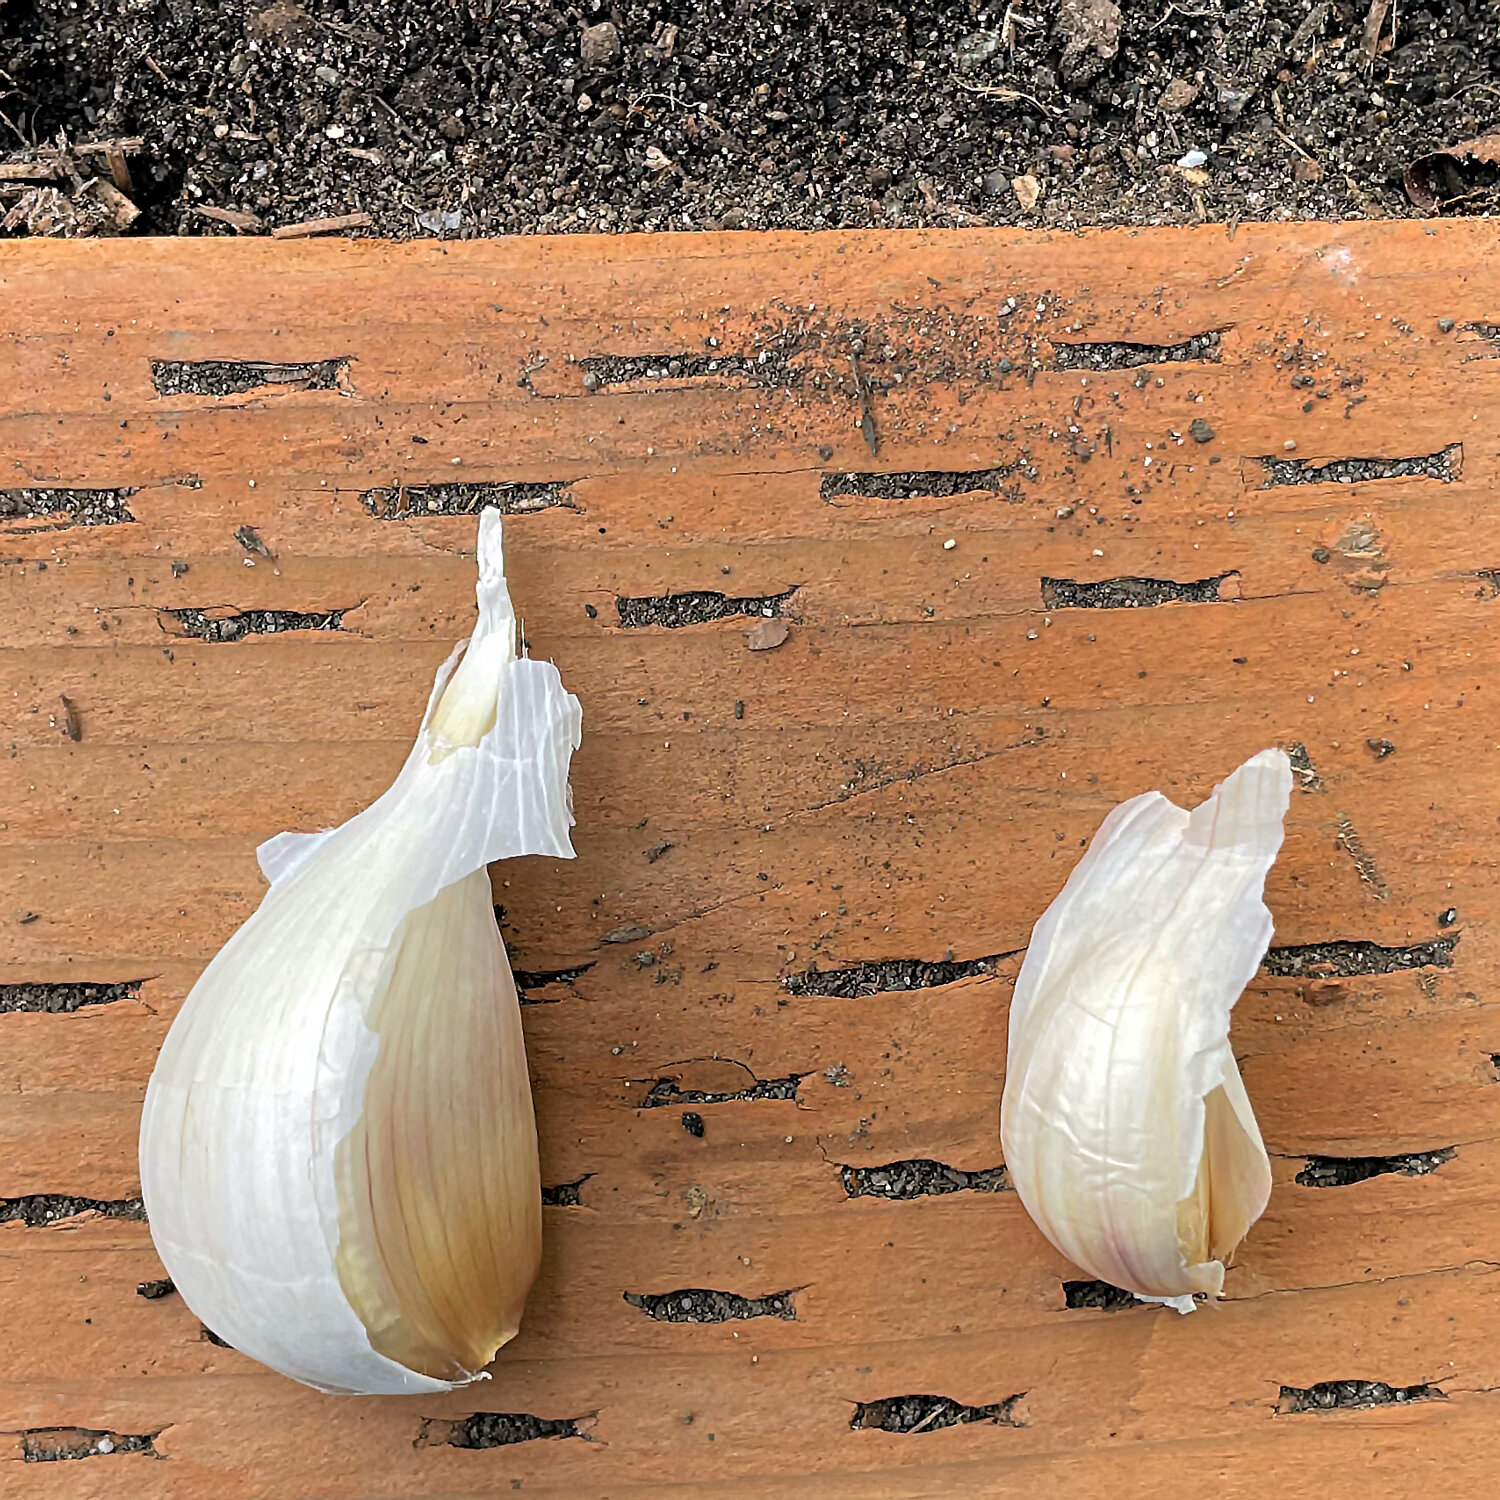
Seed garlic is what we call a head of garlic that will be separated into individual cloves for planting. Each clove you plant will grow into a new head of garlic. Since the largest, fattest cloves will form the biggest and best new heads, plant only the larger cloves and simply use the smaller cloves for your culinary endeavors.
Although you can plant garlic sold at the farmer’s market or supermarket (organic only, please), it’s best to use garlic that has been specifically chosen as seed garlic. You’ll find an amazing array of varieties that are flavorful and best suited to growing in the PNW.
If you purchase your seed garlic ahead of your planned planting time, store it in a dark, cool location until you are ready to plant.
Types of Garlic
Garlic is divided into two main types - Hardneck and Softneck - named, appropriately, for the rigidity of their central stalk.
Hardneck garlic has a thick, rigid central stalk. It generally produces large cloves and often has a strong, spicy flavor. You’ll know this type also by the fact that it puts out a flower stalk called a scape in the spring. By cutting the scape when it appears, you are encouraging the plant to send its energy into producing a nice, fat garlic head instead of trying to flower. Garlic scapes are delicious with a mild garlic flavor. Try them grilled or stir-fried or make garlic scape pesto!
Softneck garlic has a flexible stem that flops over when it is ready to be harvested. Softneck garlic generally produces smaller, more numerous cloves that grow in layers. This is the kind of garlic that can be braided, and it stores the longest (9-12 months). Since they mature faster than hardneck and don’t have scapes that need to be removed, they are often grown commercially and are more likely the type you will find at your grocery store.

photo: Birdsong Farm
Both types have several sub-types of garlic, named for their color, shape, how the cloves are arranged, or another characteristic. For example, the cloves of the ‘Artichoke’ type are arranged on the head like the leaves of an artichoke. Learn more about the sub-types of garlic here.
From these types come hundreds of different cultivars (aka varieties), often named by those who first grew or discovered them. One year, I grew eight different varieties and did a big roasted garlic taste test to see which I liked best. While I’m not going to devote that much space to garlic every year, I like to try at least one new variety each time I plant.
Planting Garlic
In the Pacific Northwest, garlic can be planted from the end of September through November. Generally, I plant mine in early or mid-October on one of our gorgeous, sunny fall days before the soil has become completely saturated by the interminable rainy season. By November, I’d rather laze inside with a cup of tea and a good book than brave gardening outdoors.
This year, I planted two hardneck varieties - Spanish Roja and Ivan - and one softneck variety: Lorz Italian. The Spanish Roja was grown by Van Bloem Gardens, which also supplies many of our flower bulbs. The other two were grown by a local family farm called Great Northern Garlic on the Washington-Canada border. They’ve been growing garlic organically and sustainably since 2011 and we’re really excited to offer their seed garlic at Swansons.

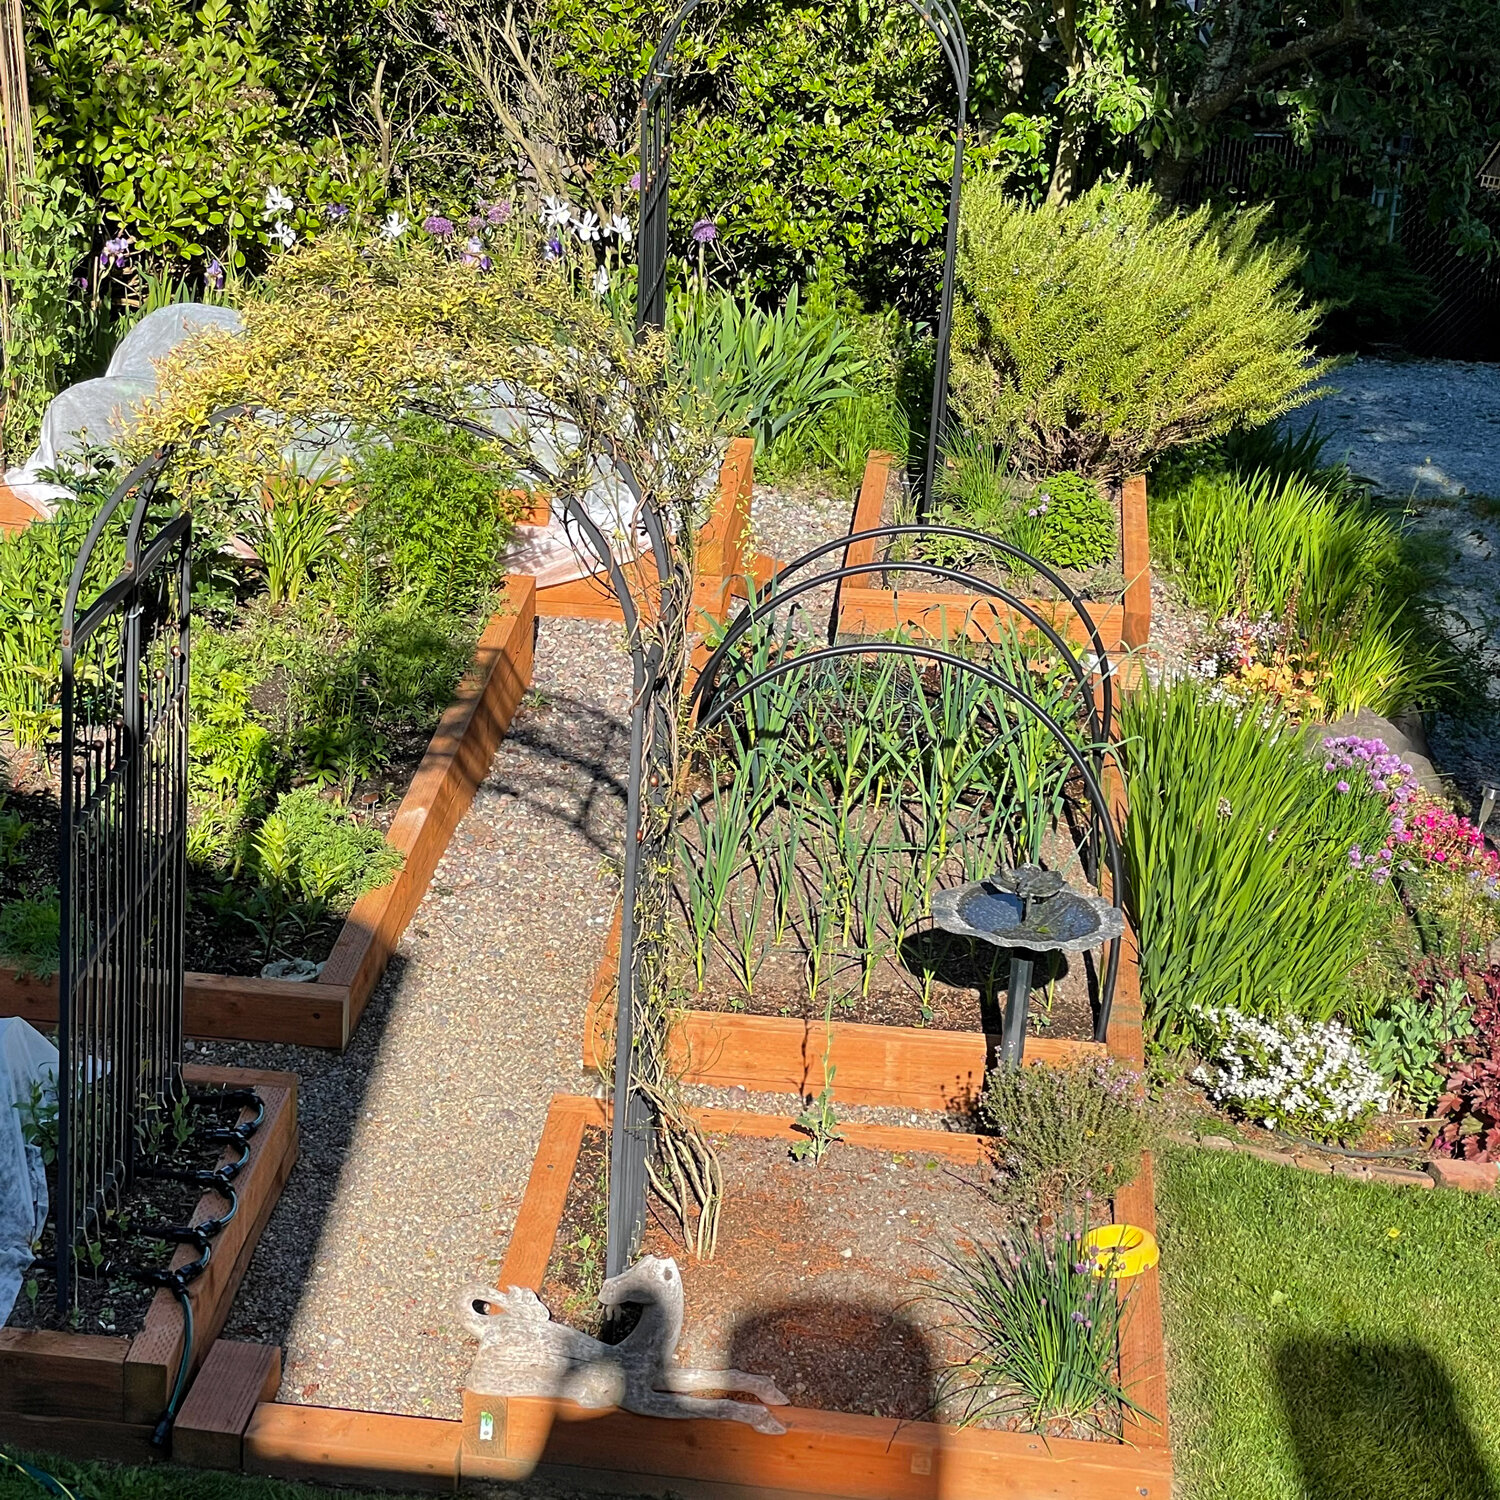
Garlic grows best in full sun, although I have had success in a part-sun location. Garlic likes rich, loose, well-draining soil and, because of this, I like to plant it in a raised bed, but any well-draining area will do. When planning where to plant your garlic, remember that not only will the garlic plants be in this spot for nearly nine months, but the stalks can also grow up to four feet tall.
Start by digging in a good amount of soil amendment or compost into your existing soil. I used one large bale of G&B Organics Soil Building Conditioner for my approximately 6’ by 4’ space. I also like to add an all-purpose vegetable fertilizer right before planting, following the quantity recommendations on the package.

Separate your garlic cloves and keep only the larger cloves to plant. The cloves should be planted around 2” deep. You can either dig a shallow trench or make an individual hole for each clove. There are many different views on how far apart each clove should be planted but, in general, space them at least 4” apart with rows 4”-12” apart. I like to read the recommendations on the specific garlic seed packaging to see what the experts recommend for that cultivar. The Spanish Roja package recommended spacing of 4” while the Ivan and Lorz Italian packages recommended 6”-8”.

Place one clove of garlic in each hole (or spaced along your trench) with the flat bottom side down and the pointed side up. I gently push my cloves into the soil just so they stay upright as I’m planting. Since I was planting three varieties, I marked each variety with a line of garden staples between rows and a label at the front of each section.
Gently cover the cloves, smoothing the soil, and water lightly to activate the fertilizer (not necessary if it’s going to rain in the near future), then mulch your bed with several inches of compost or straw. Since I have neighborhood critters who like to dig in my beds, I covered the whole space with metal grids (I use old greenhouse shelves). You could also lay chicken wire over the soil or use row cover fabric loosely pinned down with rocks or garden staples.

Growing Garlic
After a period of winter dormancy, fresh green garlic sprouts will push out of the soil sometime in January or February. In late February or March, side-dress your garlic with an all-purpose organic fertilizer or blood meal and mulch again with a few inches of compost. Fertilize once more in mid-spring (before May 1st). Alternately, you can use a high-nitrogen fish or kelp foliar spray every two weeks until May.
Water regularly, allowing the top inch or so of soil to dry out somewhat in between. Some years in the PNW, it’s not necessary to water every often in spring unless we have an extended dry period. Stop watering after the scapes have emerged (hardneck types) or by early June, when the leaves have just begun to yellow, then cross your fingers that it doesn’t rain too much in June.
Keep your bed well-weeded; garlic doesn't compete well with weeds and smaller heads may be the consequence.
If you have planted hardneck garlic, the scapes will appear in May. When they are about 8” tall, cut them at their base and make some delicious garlic scape aioli.

Harvesting Your Garlic
In late June to July, the leaves of hardneck garlic plants will begin to turn yellow, then brown and dry. When 30%-60% of the leaves have dried out but there are still four or five green leaves it’s time to harvest! The stems of softneck garlic will flop over when they are ready to harvest.
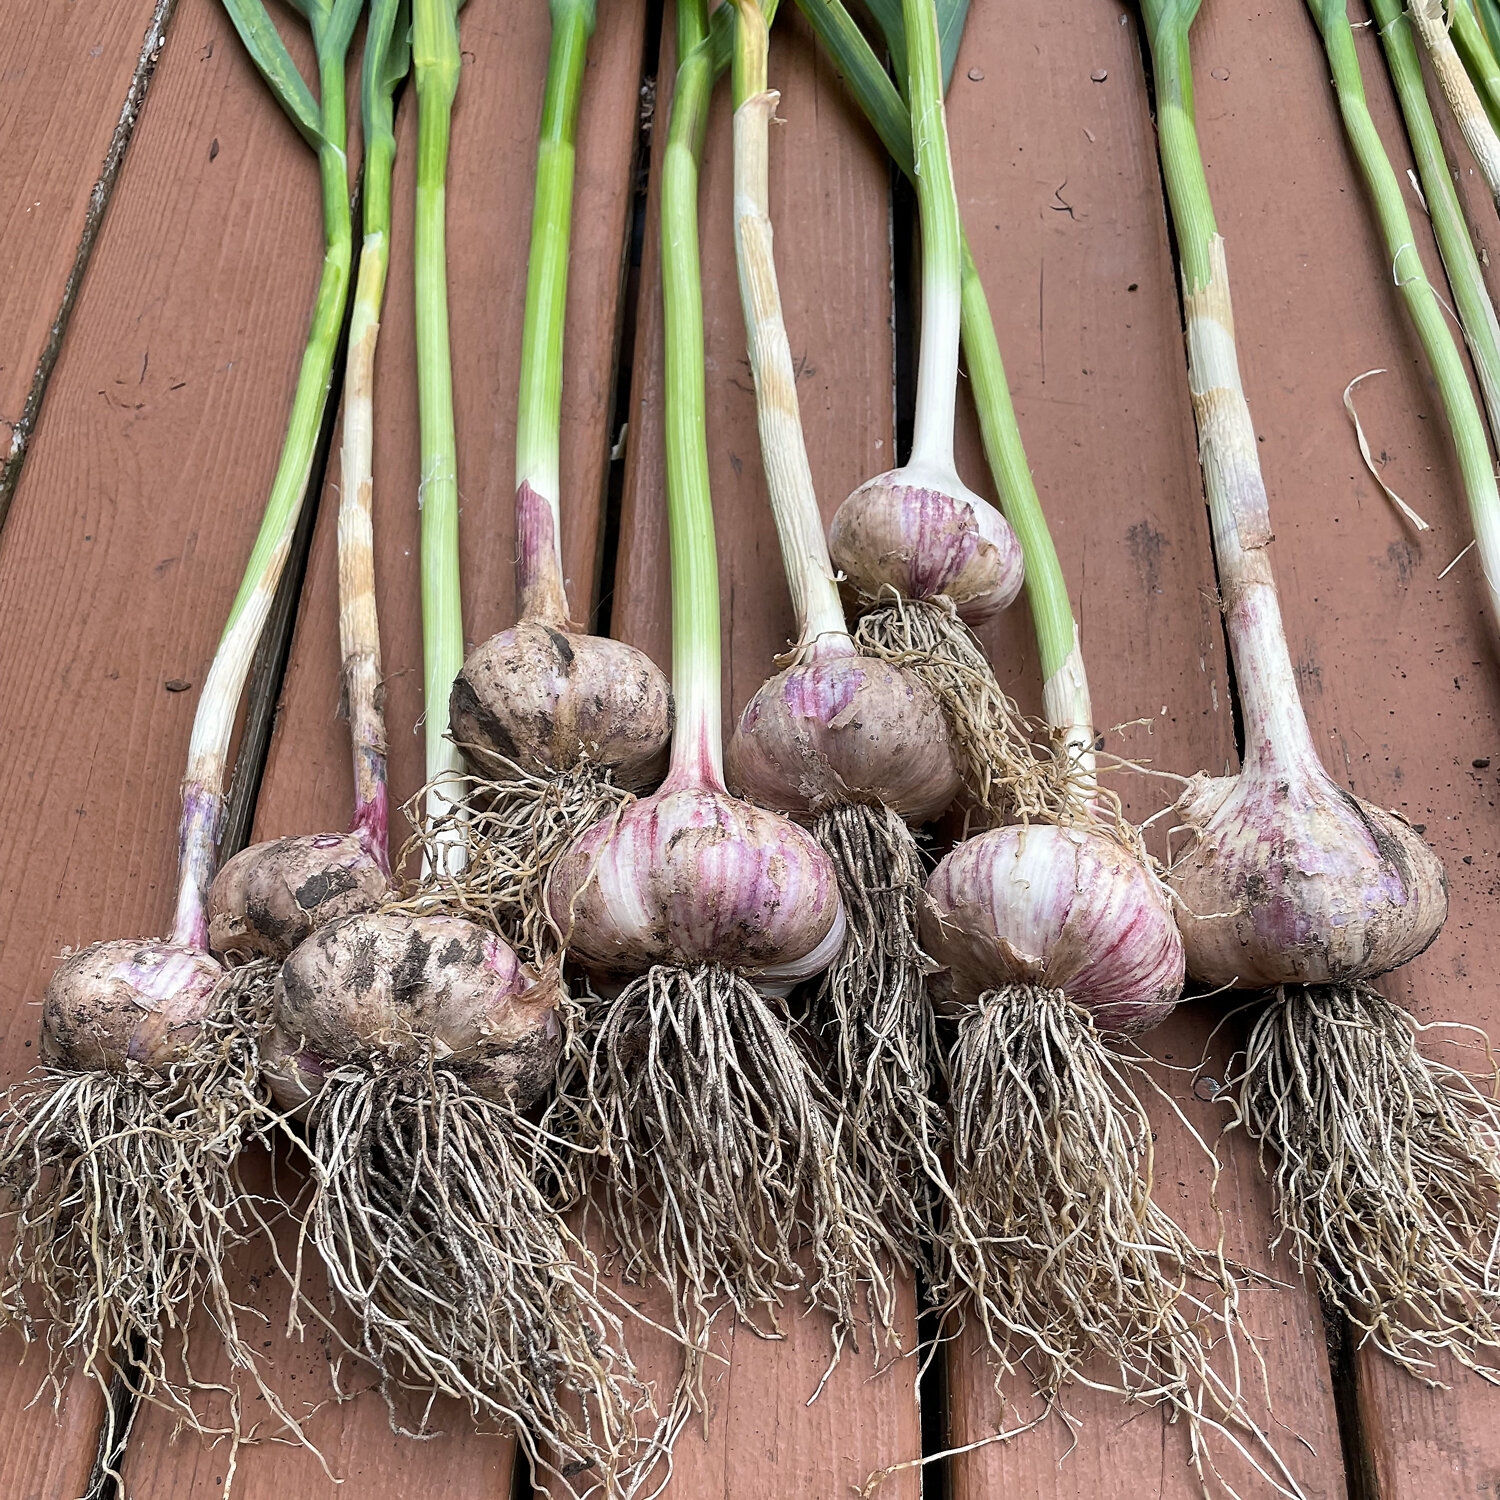
Don’t pull on the stems; instead, use a garden fork or shovel to gently unearth and lift out the bulb, leaving the stem and leaves attached. There is absolutely nothing better than the smell of garlic and sun-warmed soil as you lift your home-grown garlic heads out of the earth. Brush off any excess dirt and up to one layer of outer skin. Now you’re ready for the final step before you can enjoy the fruits of your labor.
Note: Different varieties of garlic can mature at different rates, so it makes sense to dig up one bulb as a test. The cloves should be firm and covered in papery “skin” and the heads should be rounded. If it’s not quite ready, leave the rest. You can eat your test garlic right away since it won’t store well.
Curing and Storing Garlic
Curing garlic allows it to store for a longer period of time and keep its flavor. There are a few ways to prepare garlic for storage. You can tie bunches of up to eight plants together and hang them or lay them out on racks (I’ve had success with sweater drying racks!) in a place with good airflow that is out of the sun. You can add a fan to the room if your air doesn’t flow well.
If your find that your garlic has begun to develop mold or the stem is not drying well, you can bring it outside to “bake” on a warm, sunny day. Bring the plants back inside overnight and repeat as necessary. Some people have had luck placing them near a wood stove or in a very warm and dry room overnight.
For hardneck types, After about 2-4 weeks, cut off the stems and trim the roots. They are now ready to store for up to six months. Softneck types can now be braided and then hung for up to 9-12 months. Simply cut off a head from the braid as needed. Always store garlic in a cool place out of direct sun and with good airflow.
Saving Seeds
If you would like to grow the same variety again, you can save the biggest and best head to replant the next fall. Personally, I want to savor all my hard-earned garlic, so I eat it all and just buy new seed garlic at Swansons the next fall! Start with this easy roasted garlic recipe.

Growing Elephant Garlic
Elephant garlic is not true garlic at all, but an enormous bulbing leek. It is grown like garlic but with minor differences. The enormous cloves should be planted about 12” apart and 4”-6” deep, with rows spaced 3’ feet apart.
Occasionally a fall-planted elephant garlic clove (usually a smaller one) fails to divide into segments and instead forms like a small onion. The single rounds are delicious and can be cooked like a huge pearl onion or they can be replanted whole the next year and will make a very large regular bulb.
When you harvest, you might notice corms protruding from the base of the bulb. These are small, nut-like cloves with sharp tips and thick, tough skins. Corms may be planted like regular cloves if first scored and then soaked overnight in water, but plants grown from corms will be much smaller than those started from cloves and will not produce giant, segmented bulbs the first year but single rounds instead.
Unlike true garlic, Elephant Garlic makes a large, showy flower on a stalk that grows 5 feet high. The seeds within it are rarely fertile. These flower stalks divert some of the plant’s energy, just like a garlic scape, and should be clipped off when they are 8-9 inches tall.
Questions? Reach out to us by email or visit us for in-person guidance and recommendations!