
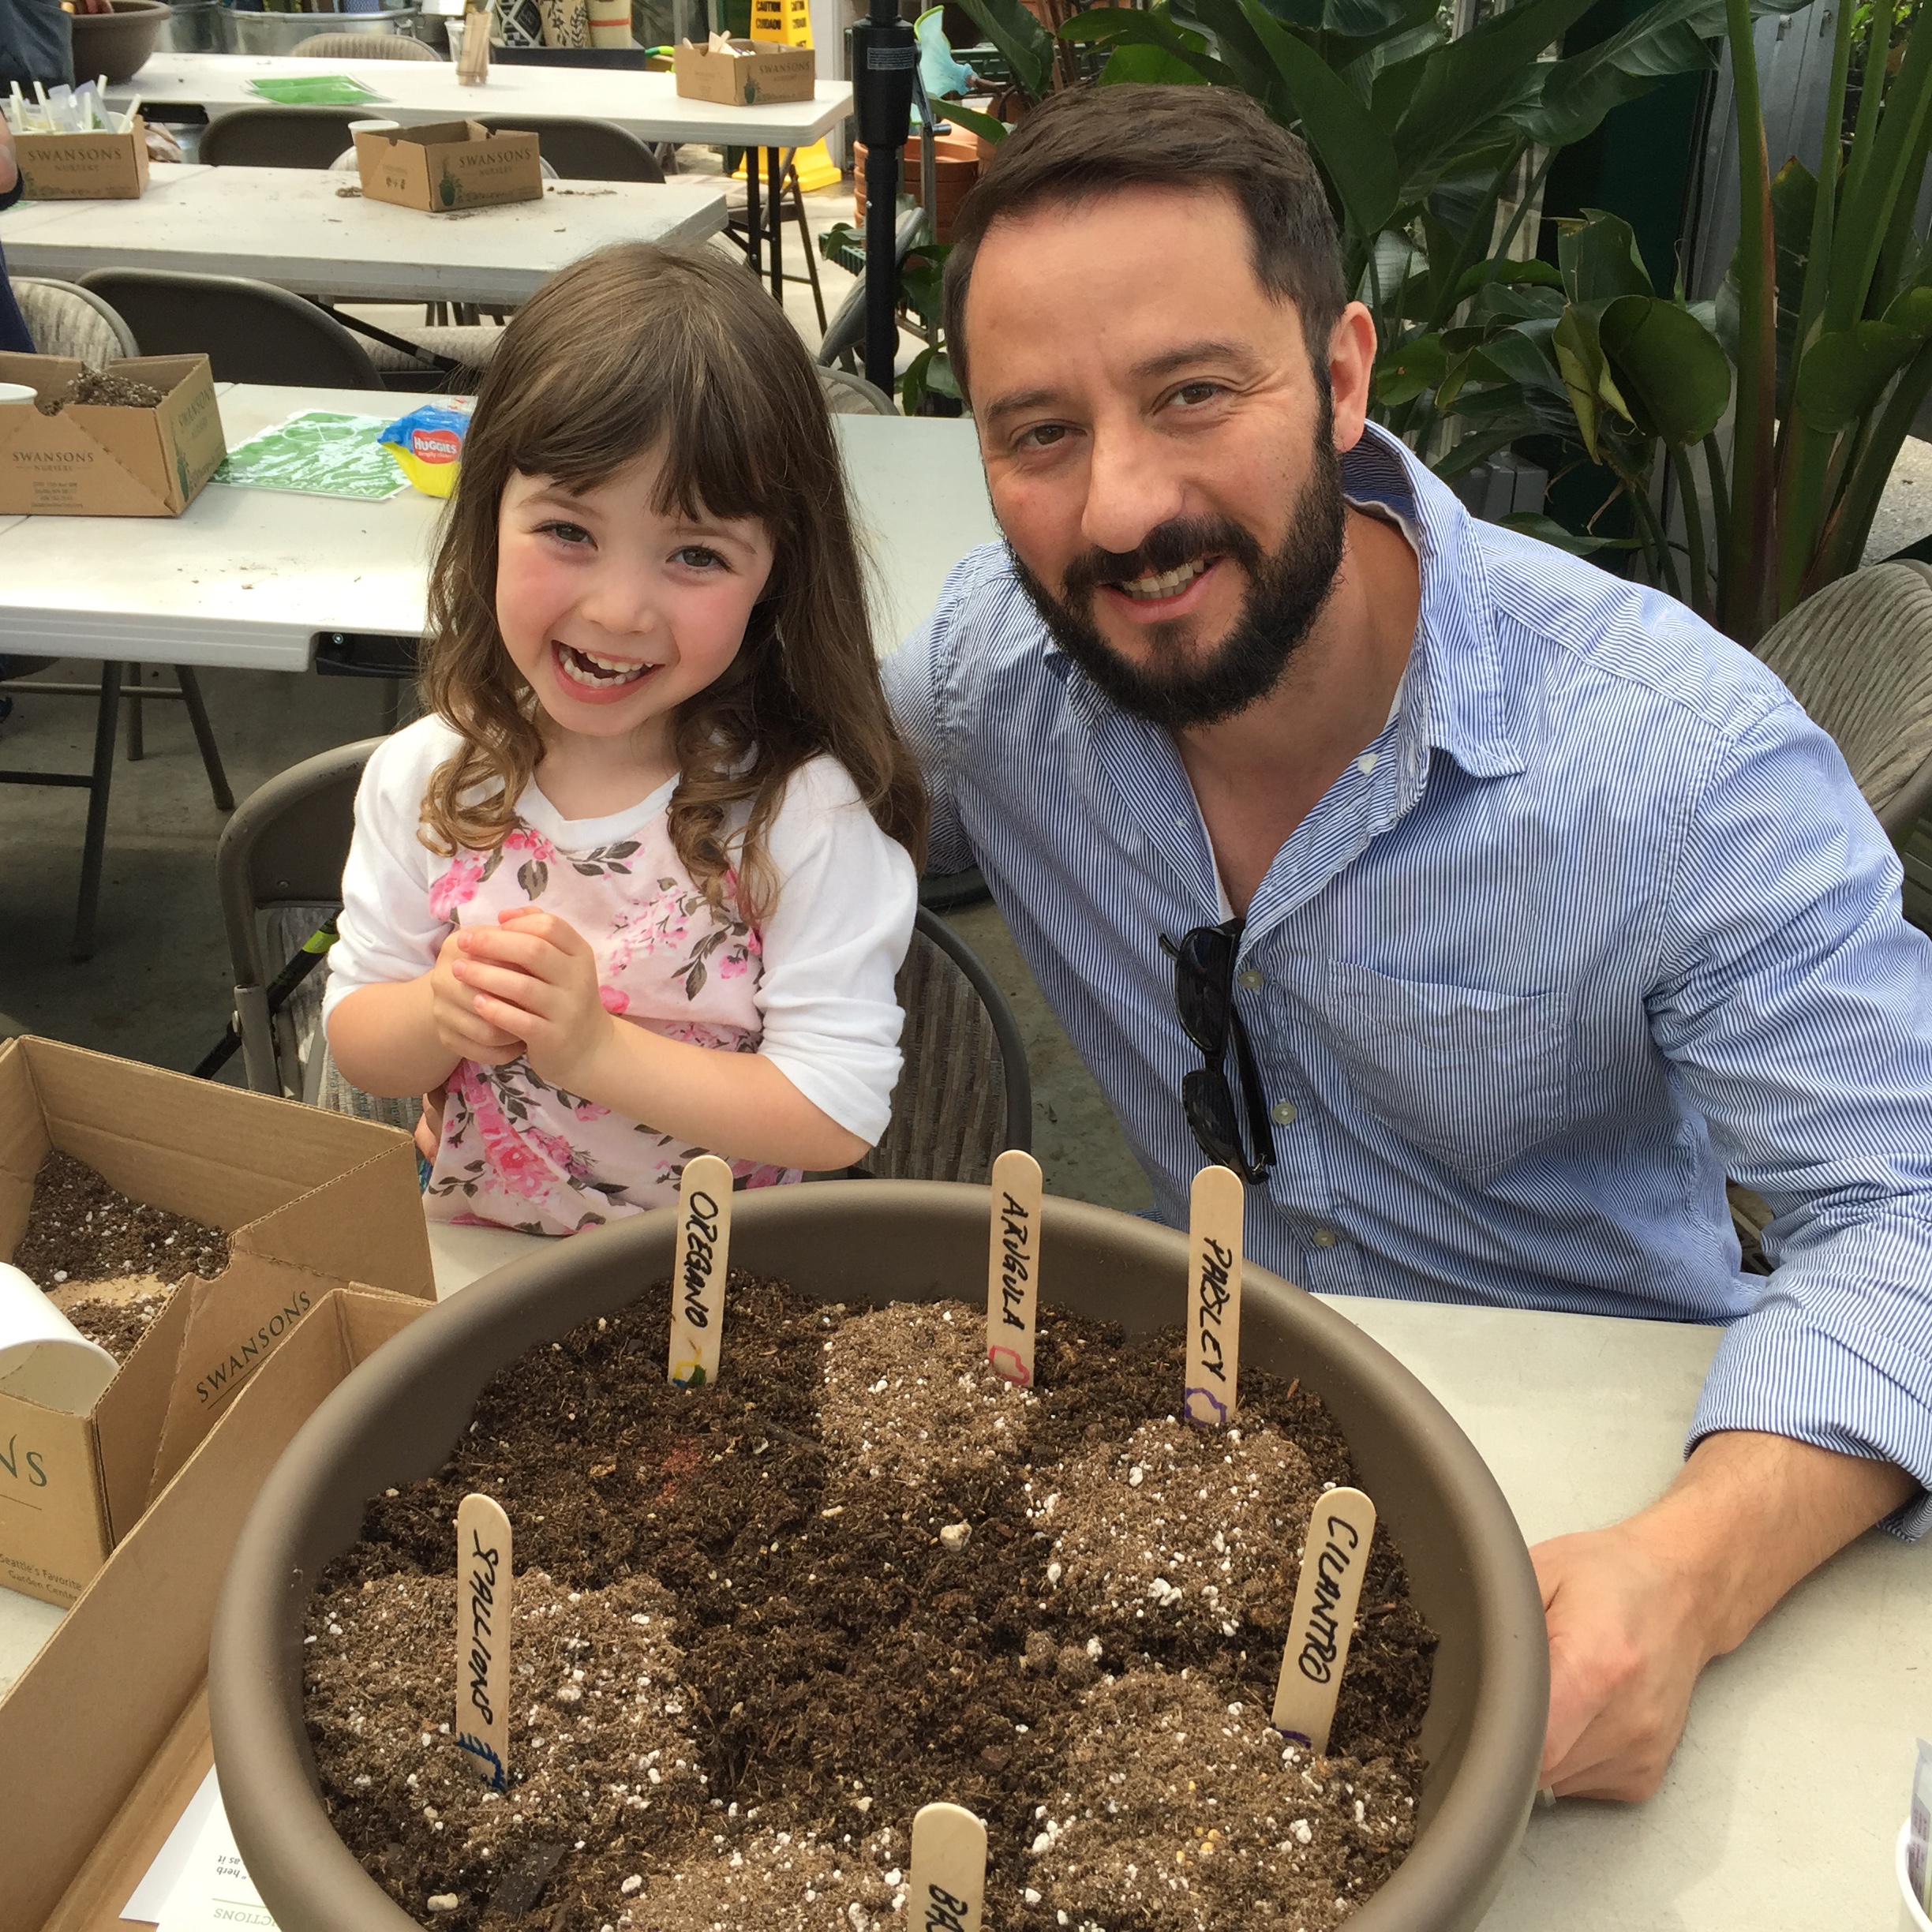
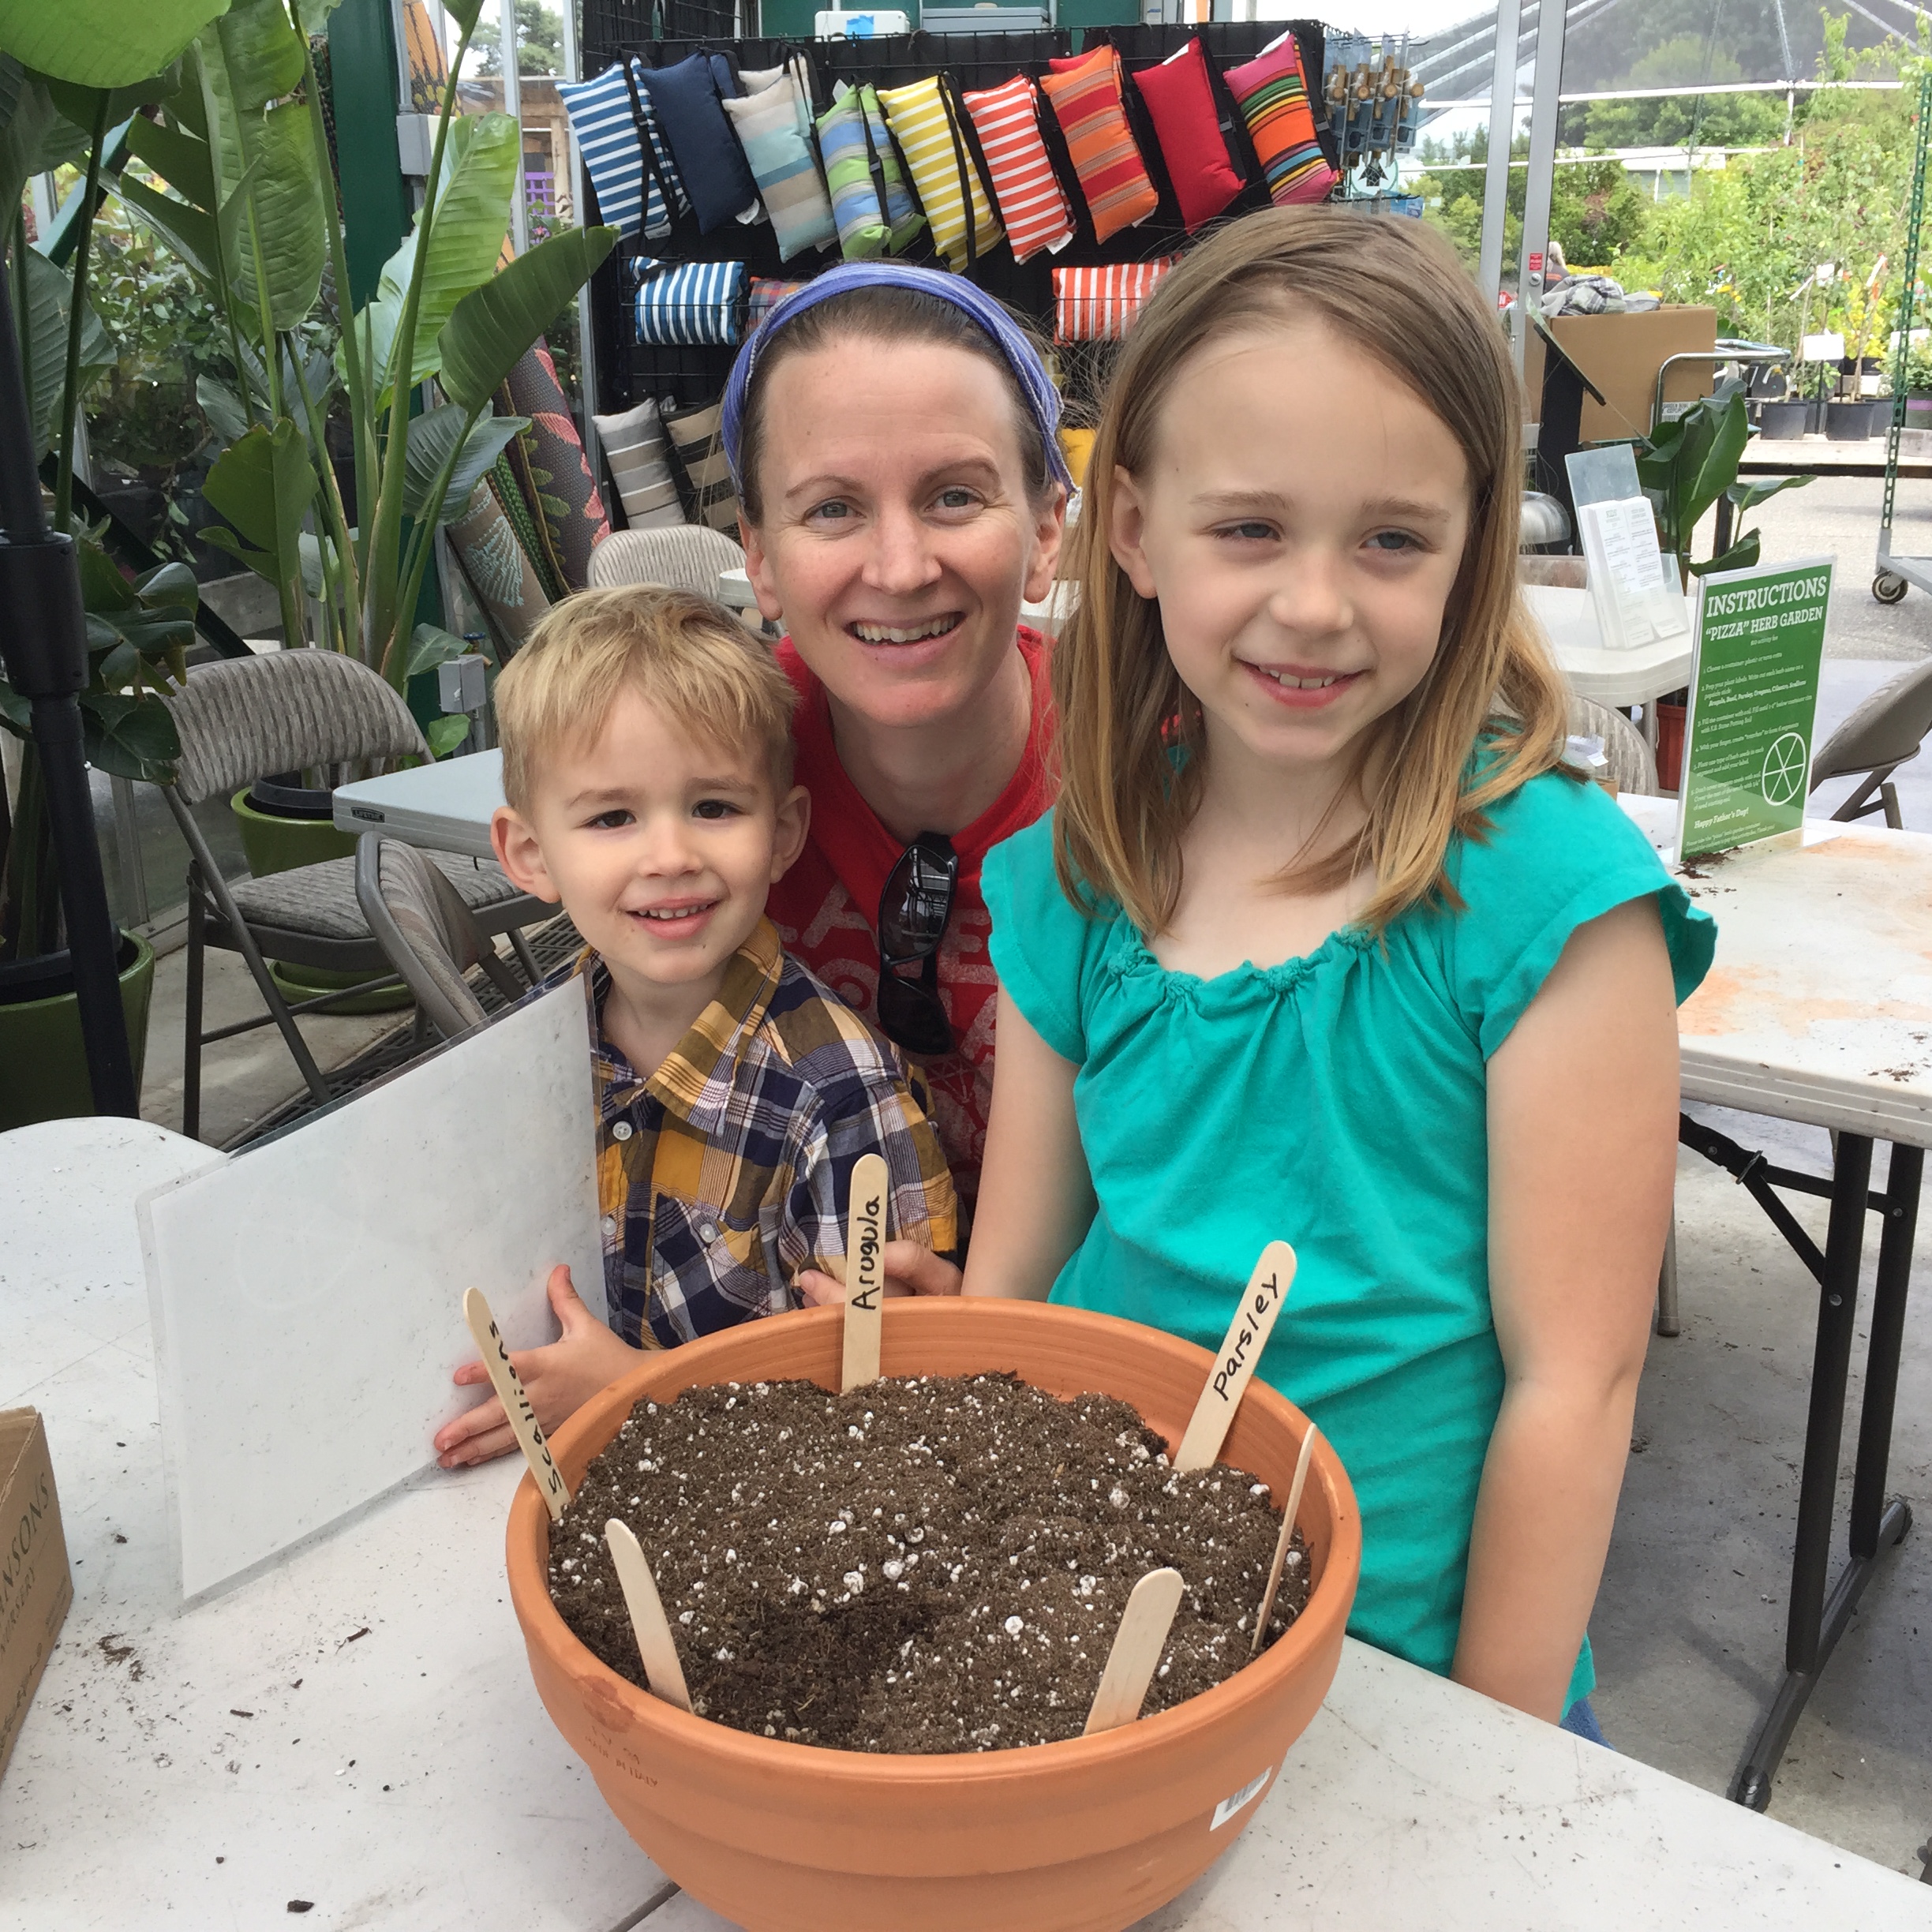
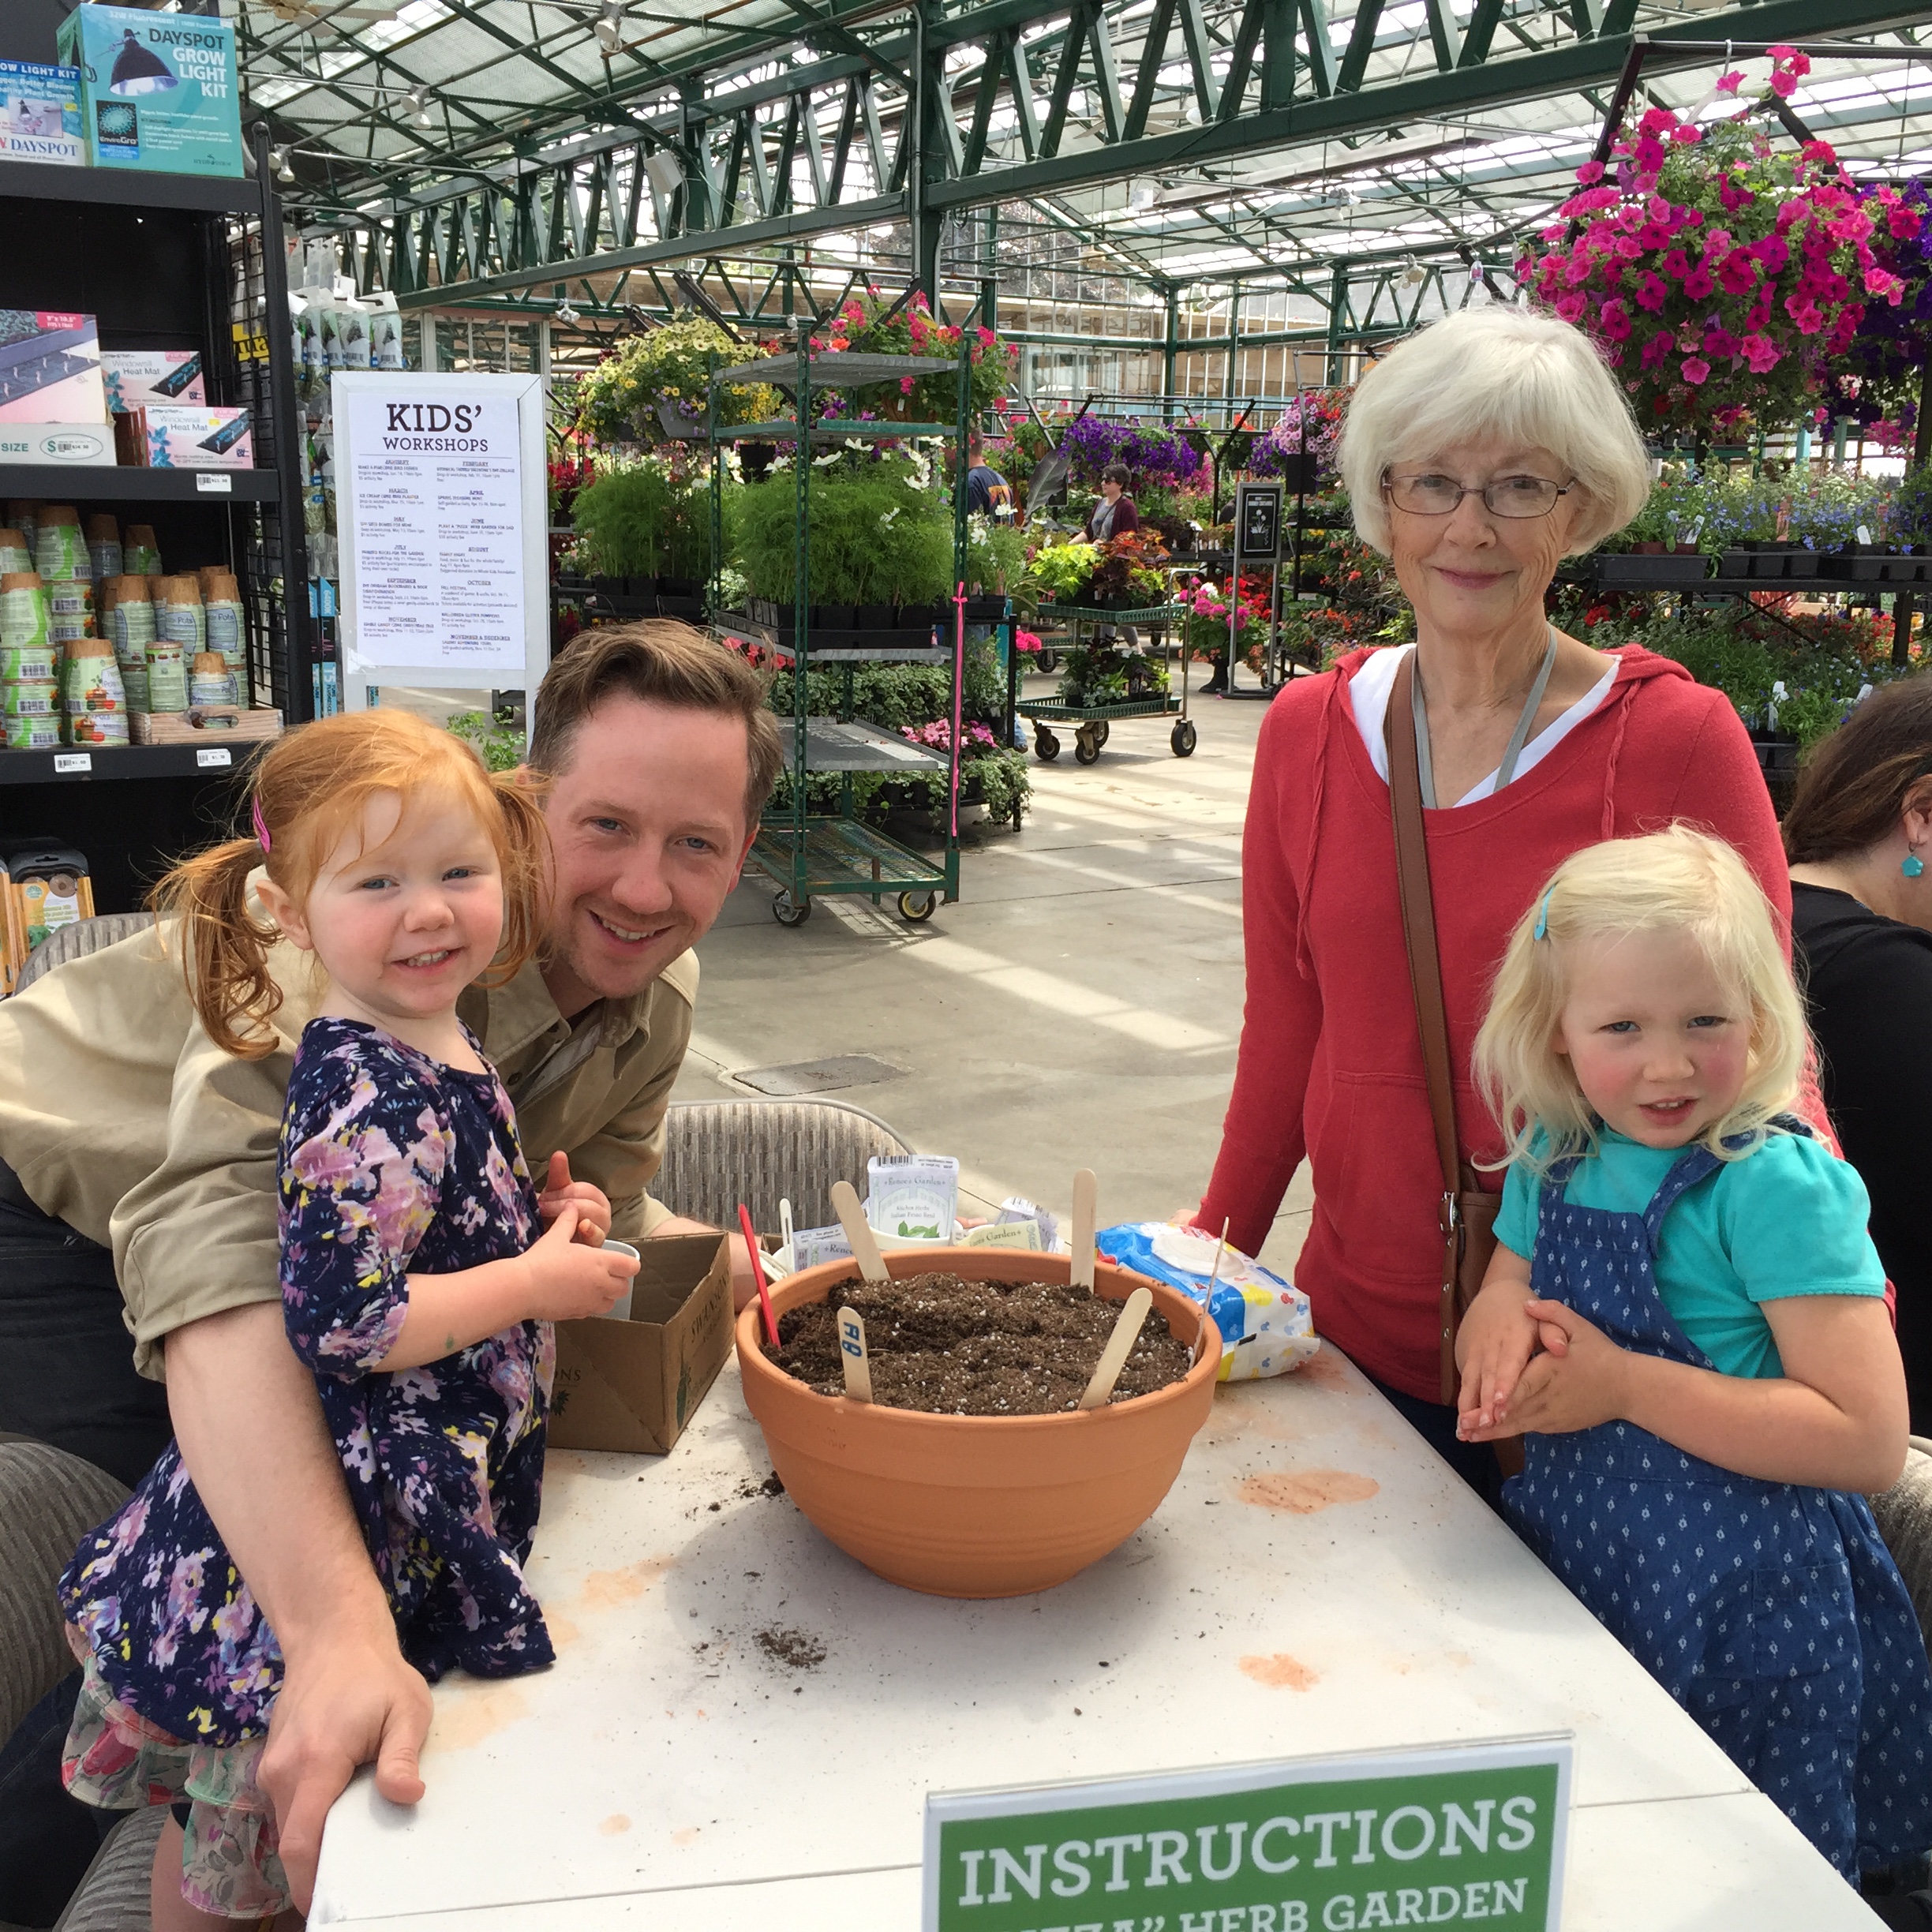
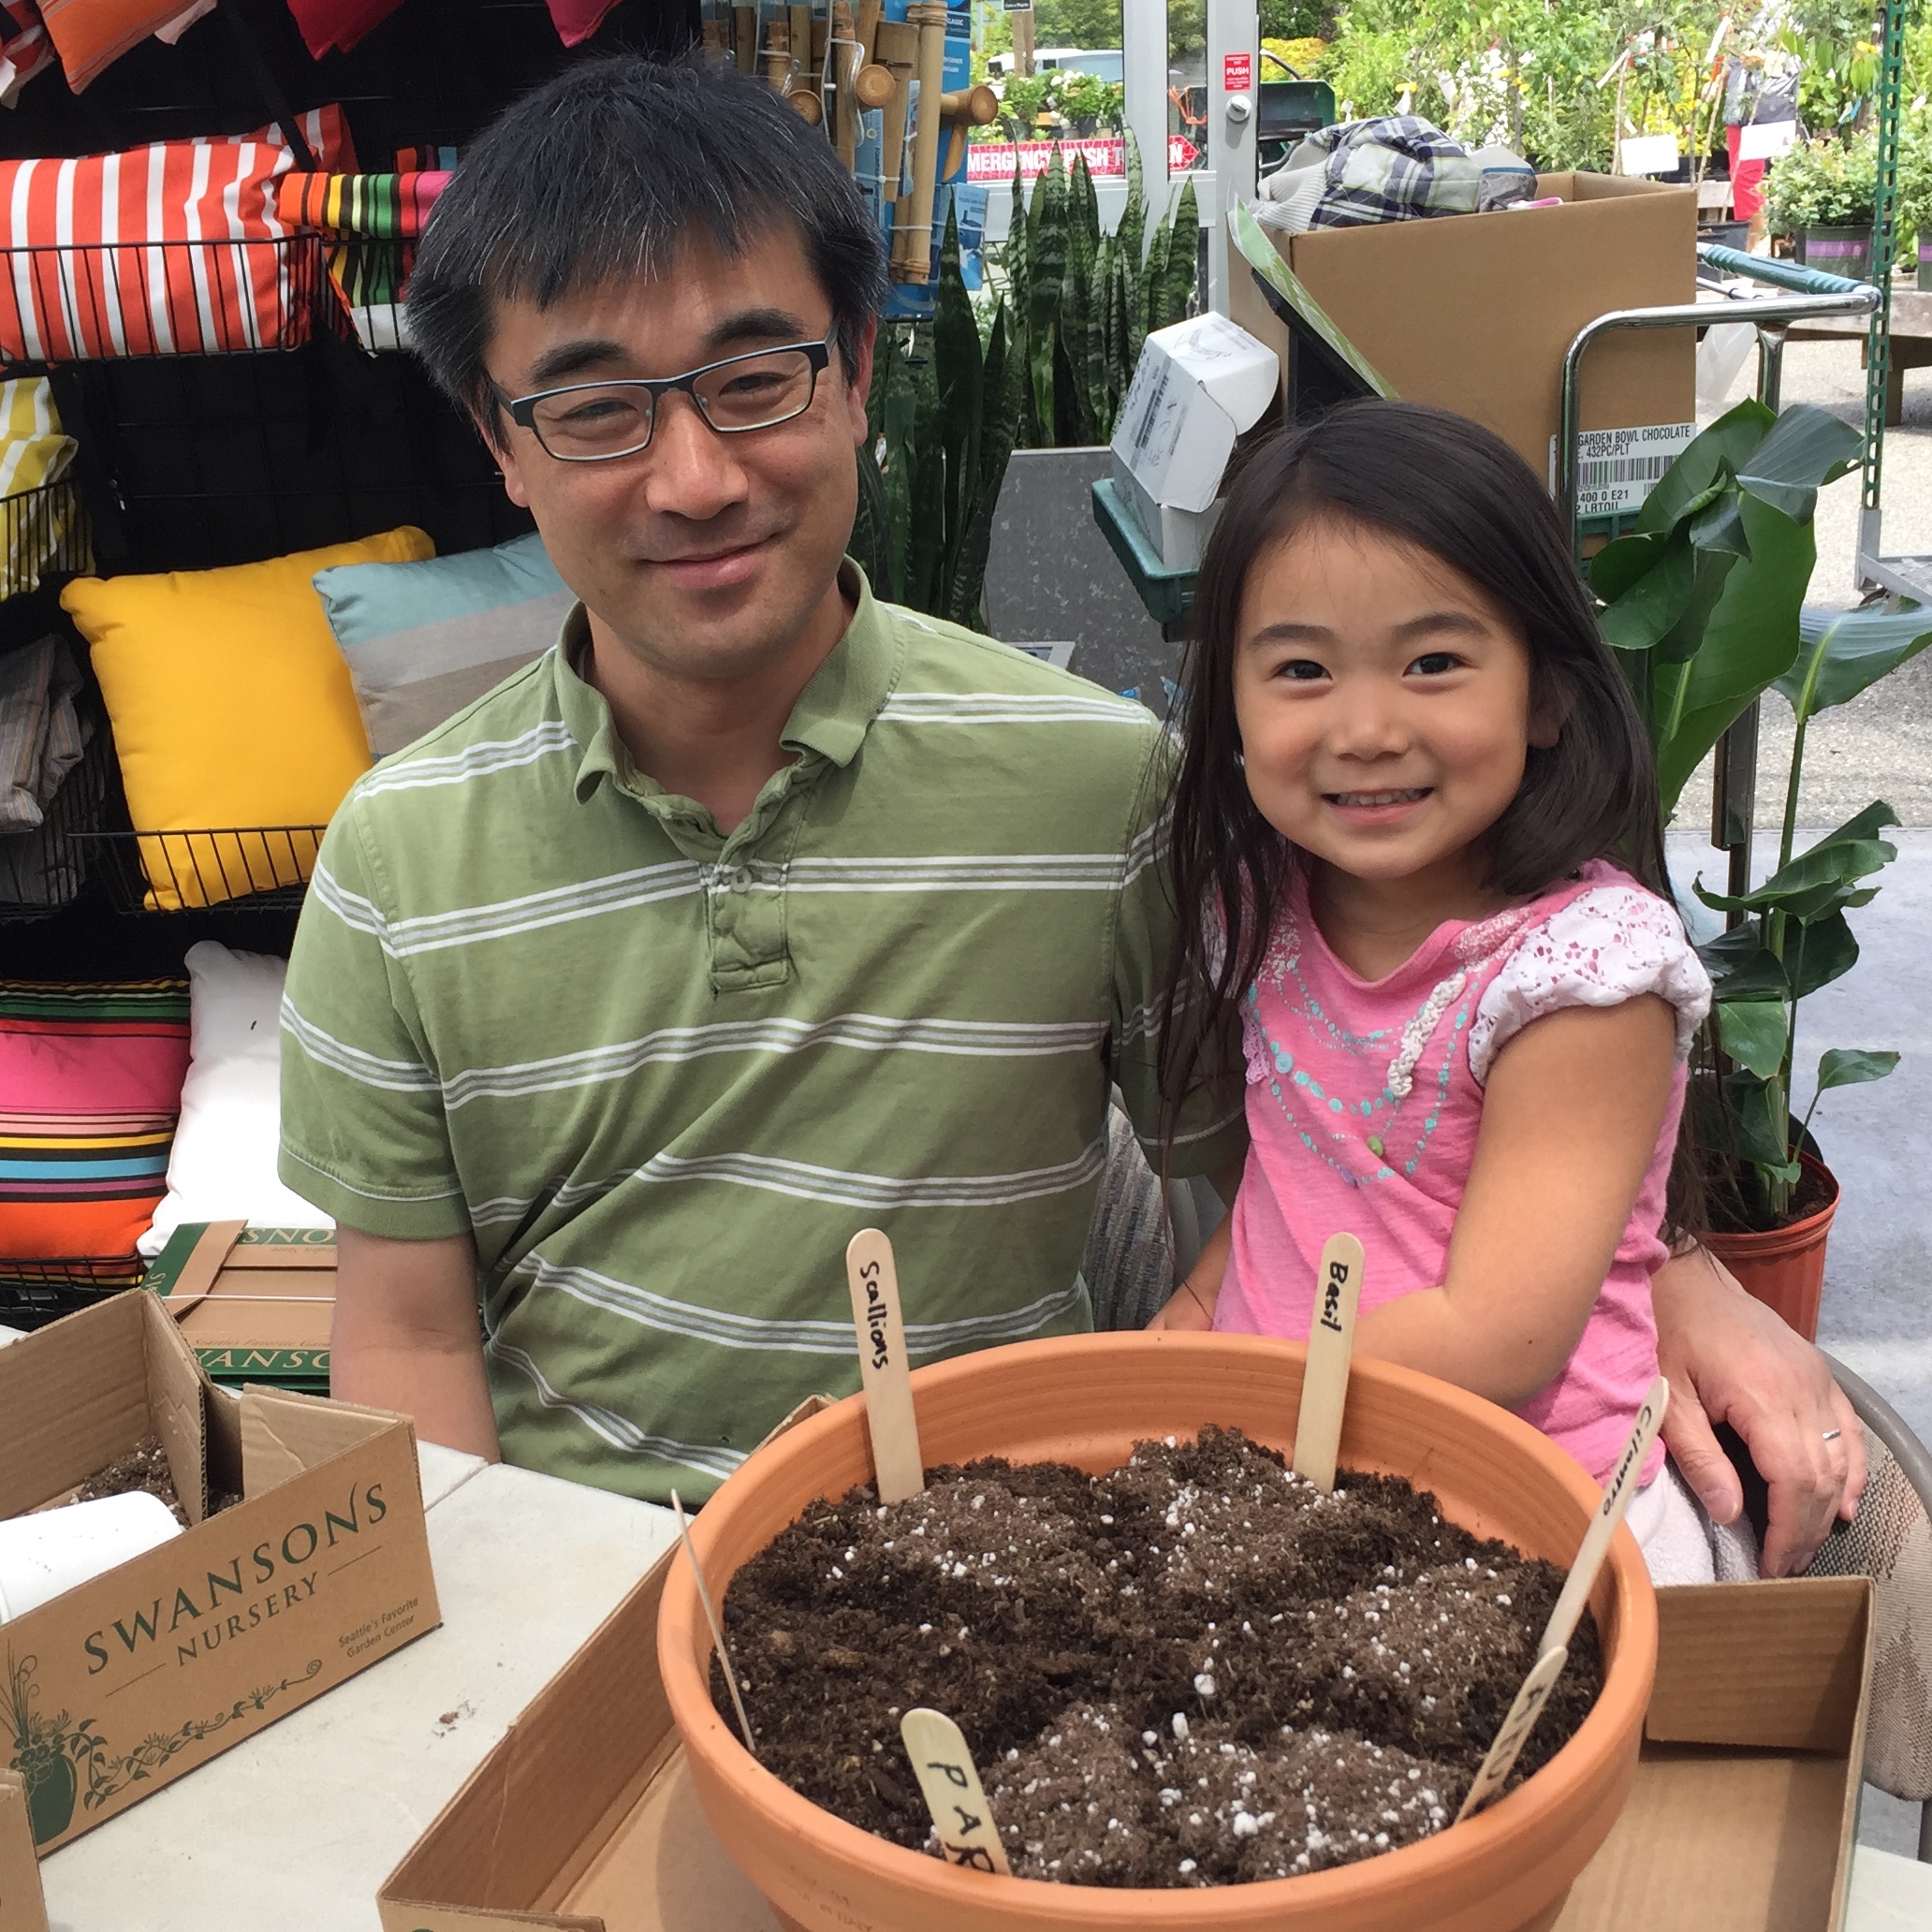
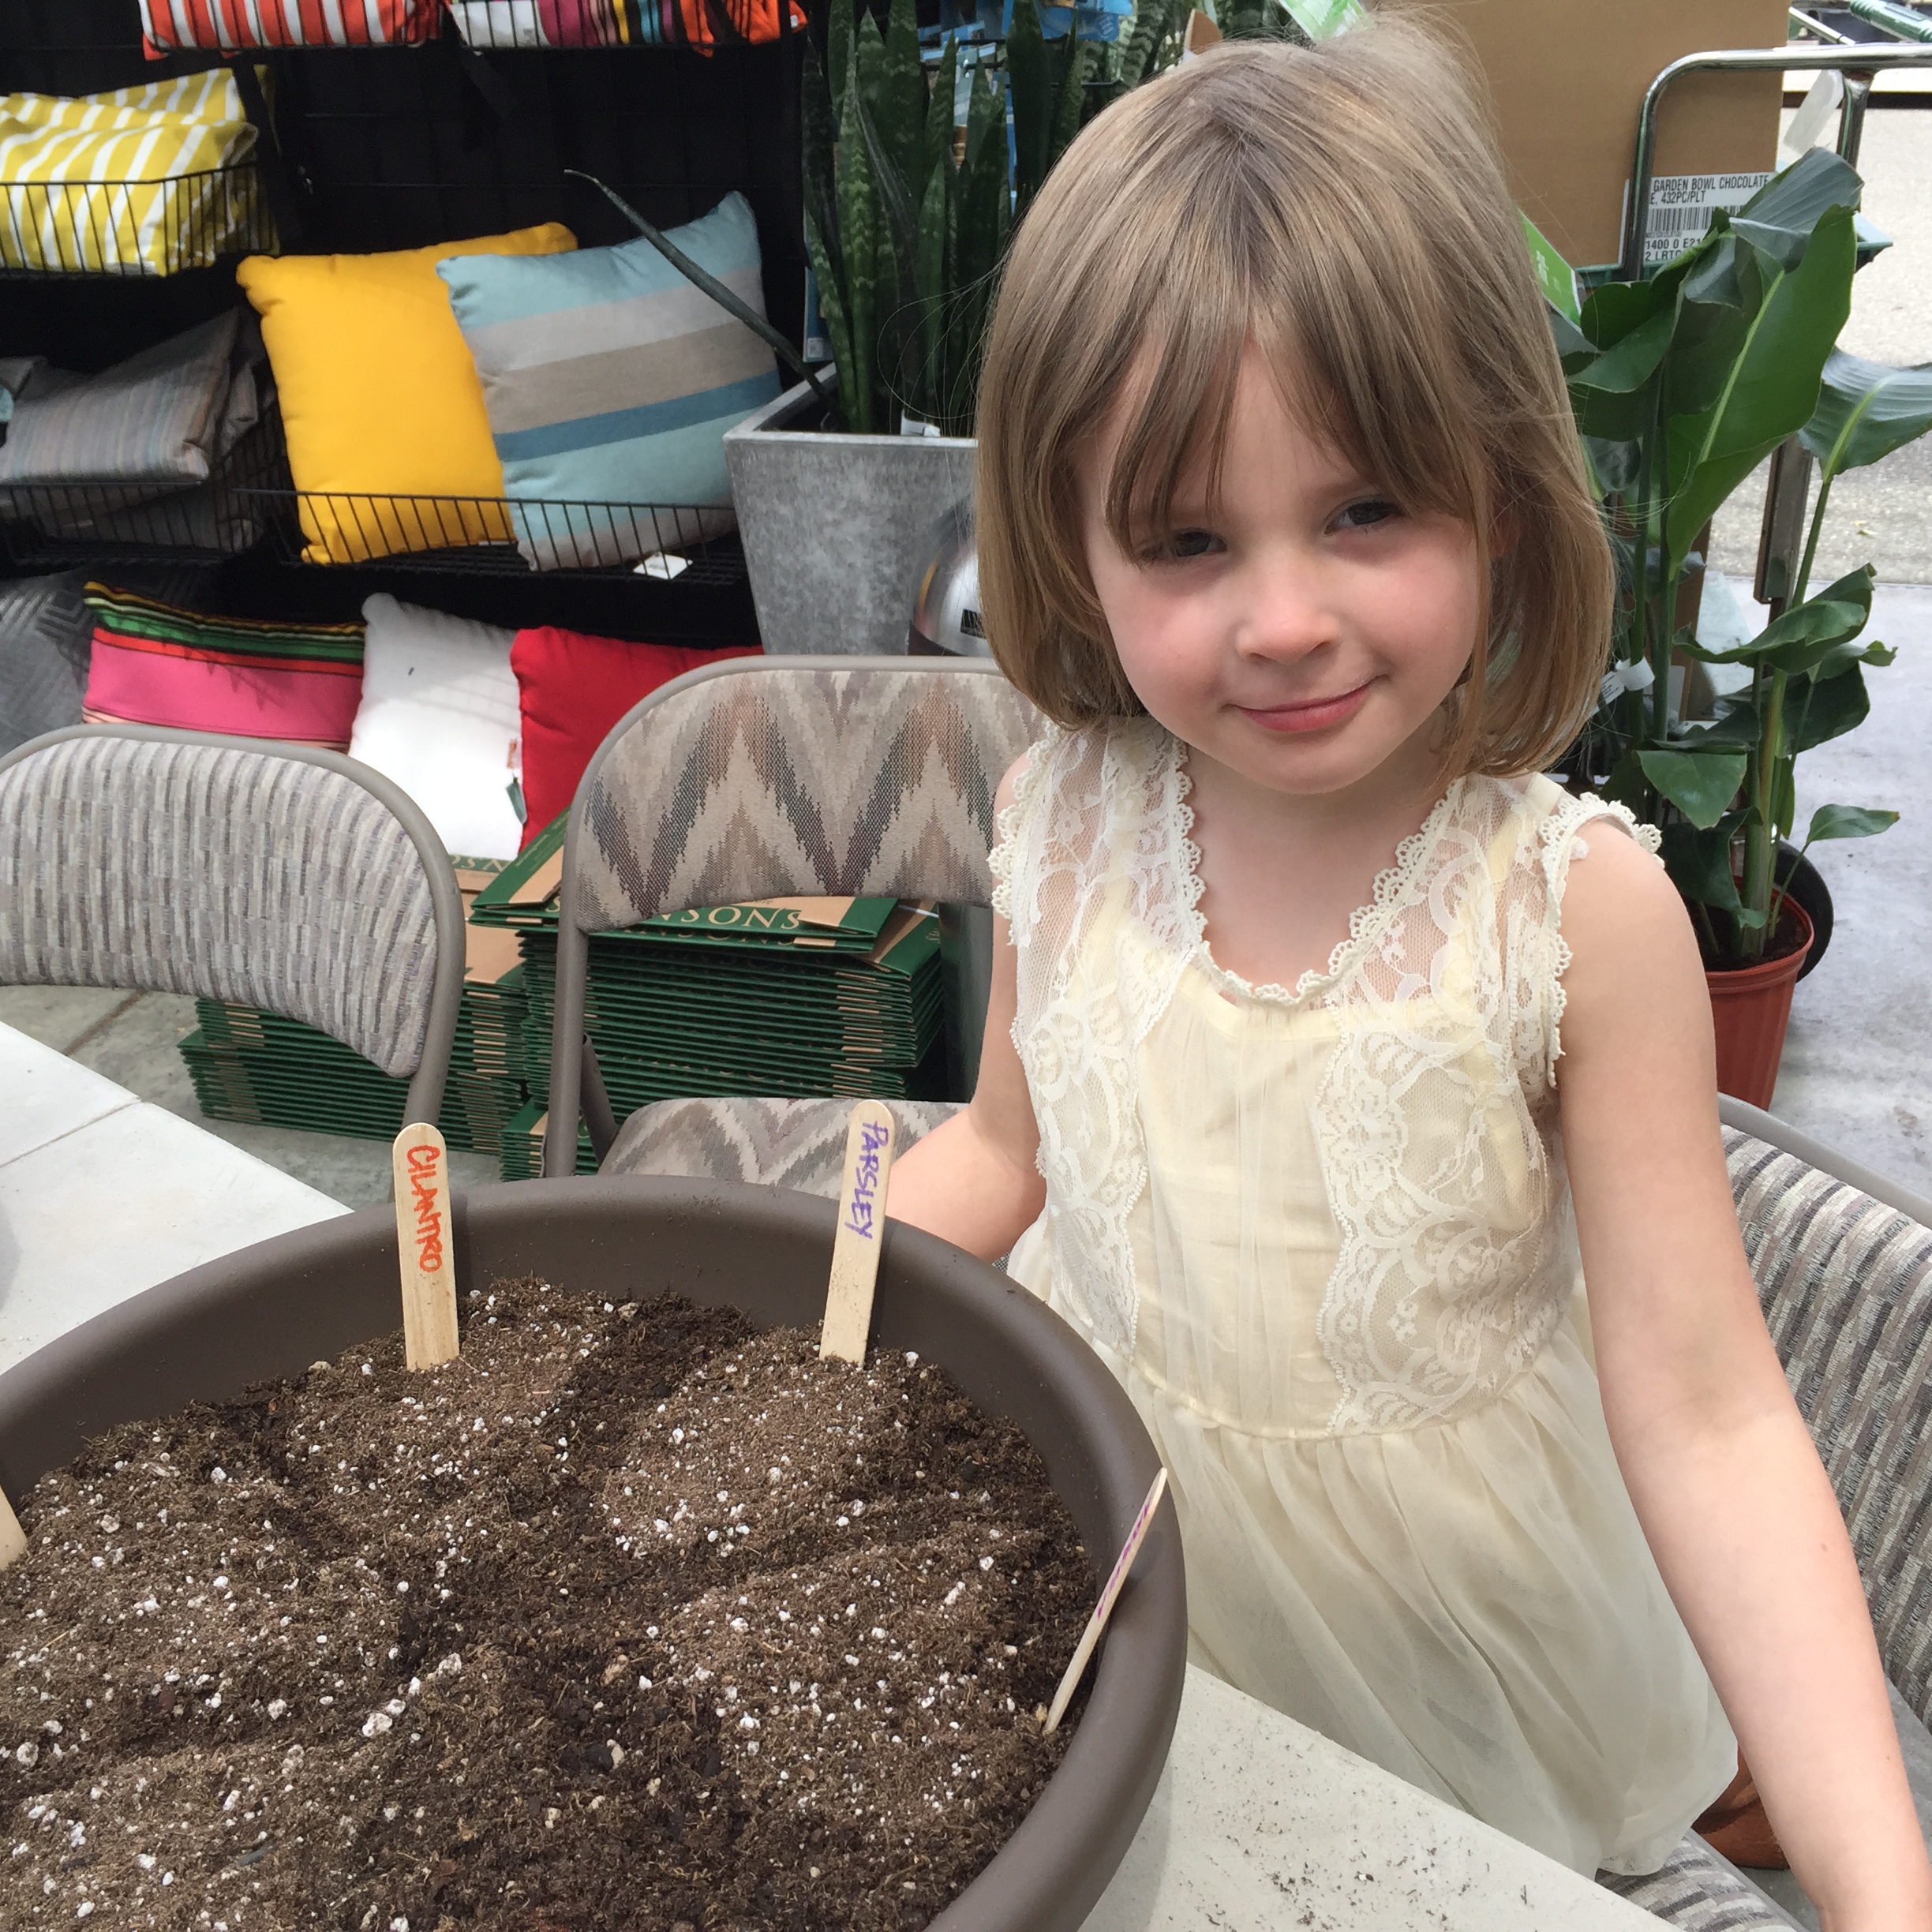
As a part of our Kids' Program here at Swansons, we host a special family-friendly activity every month. This month, we planted a container “pizza” herb garden! The activity was sponsored by Renee’s Garden Seeds (a big thank you for generously donating the seeds!) and it was the perfect excuse to get a little messy and have an awesome gift to give dad or grandpa on Father’s Day! Not only did the kids get the opportunity to plant a garden and watch it grow, but the whole family gets to enjoy the delicious results!
To everyone who came to the activity, thank you! And to everyone who didn’t make it, we had so much fun that we decided to tell you about the activity so you can make a container herb garden at home! Continue reading below to make your own pizza herb garden.

How to Make a “Pizza” Herb Garden
Making a pizza herb garden is an easy and fun project to do with kids. Not only will you grow fresh herbs that are fun to add to any pizza, but it’ll look like pizza slices as it sprouts and starts to grow!
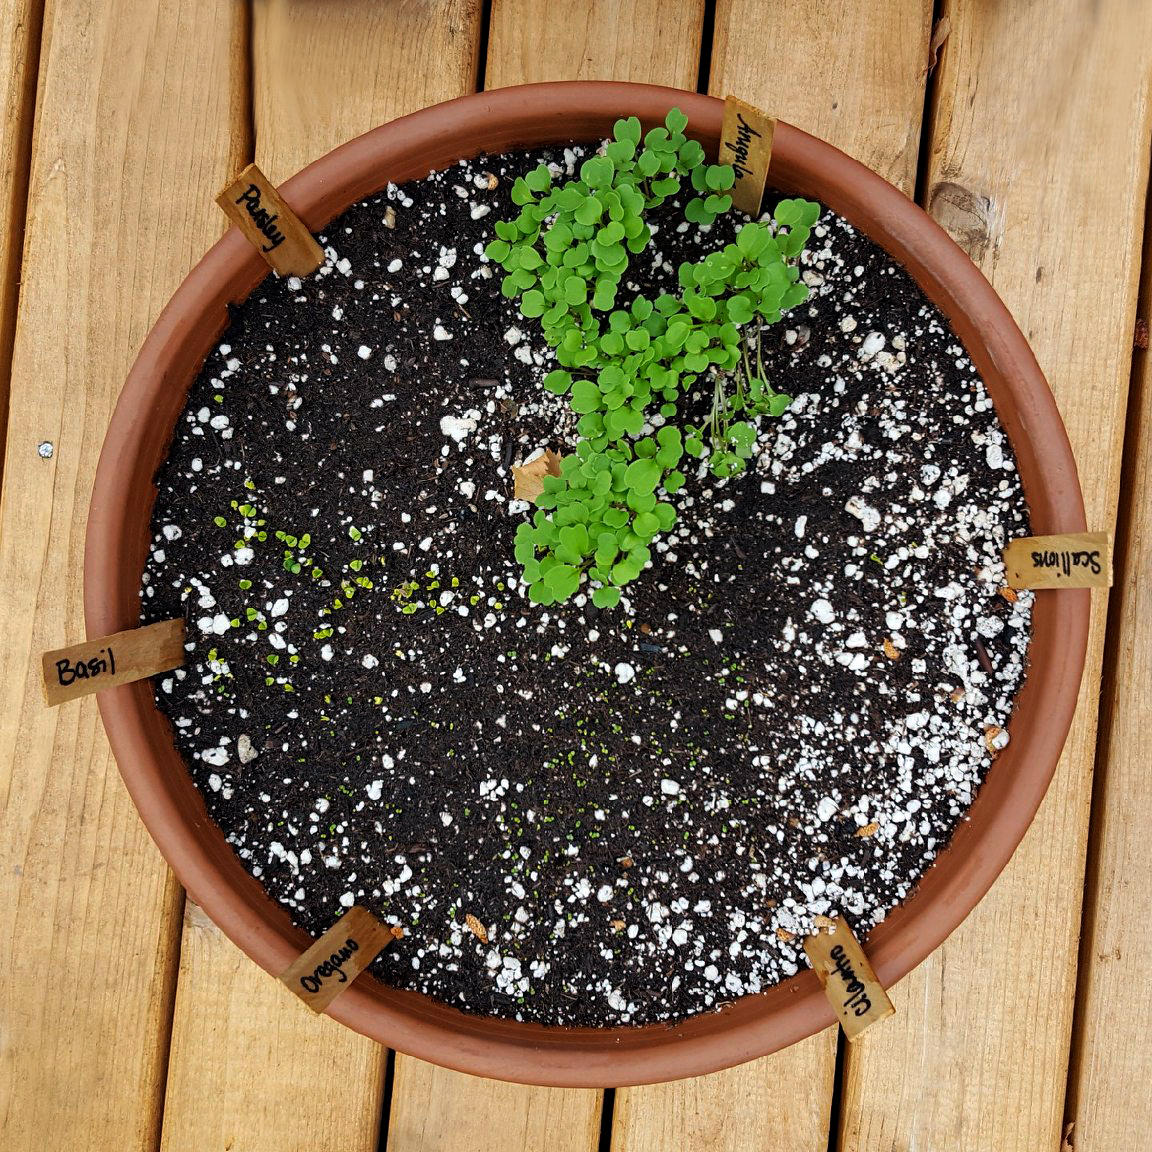
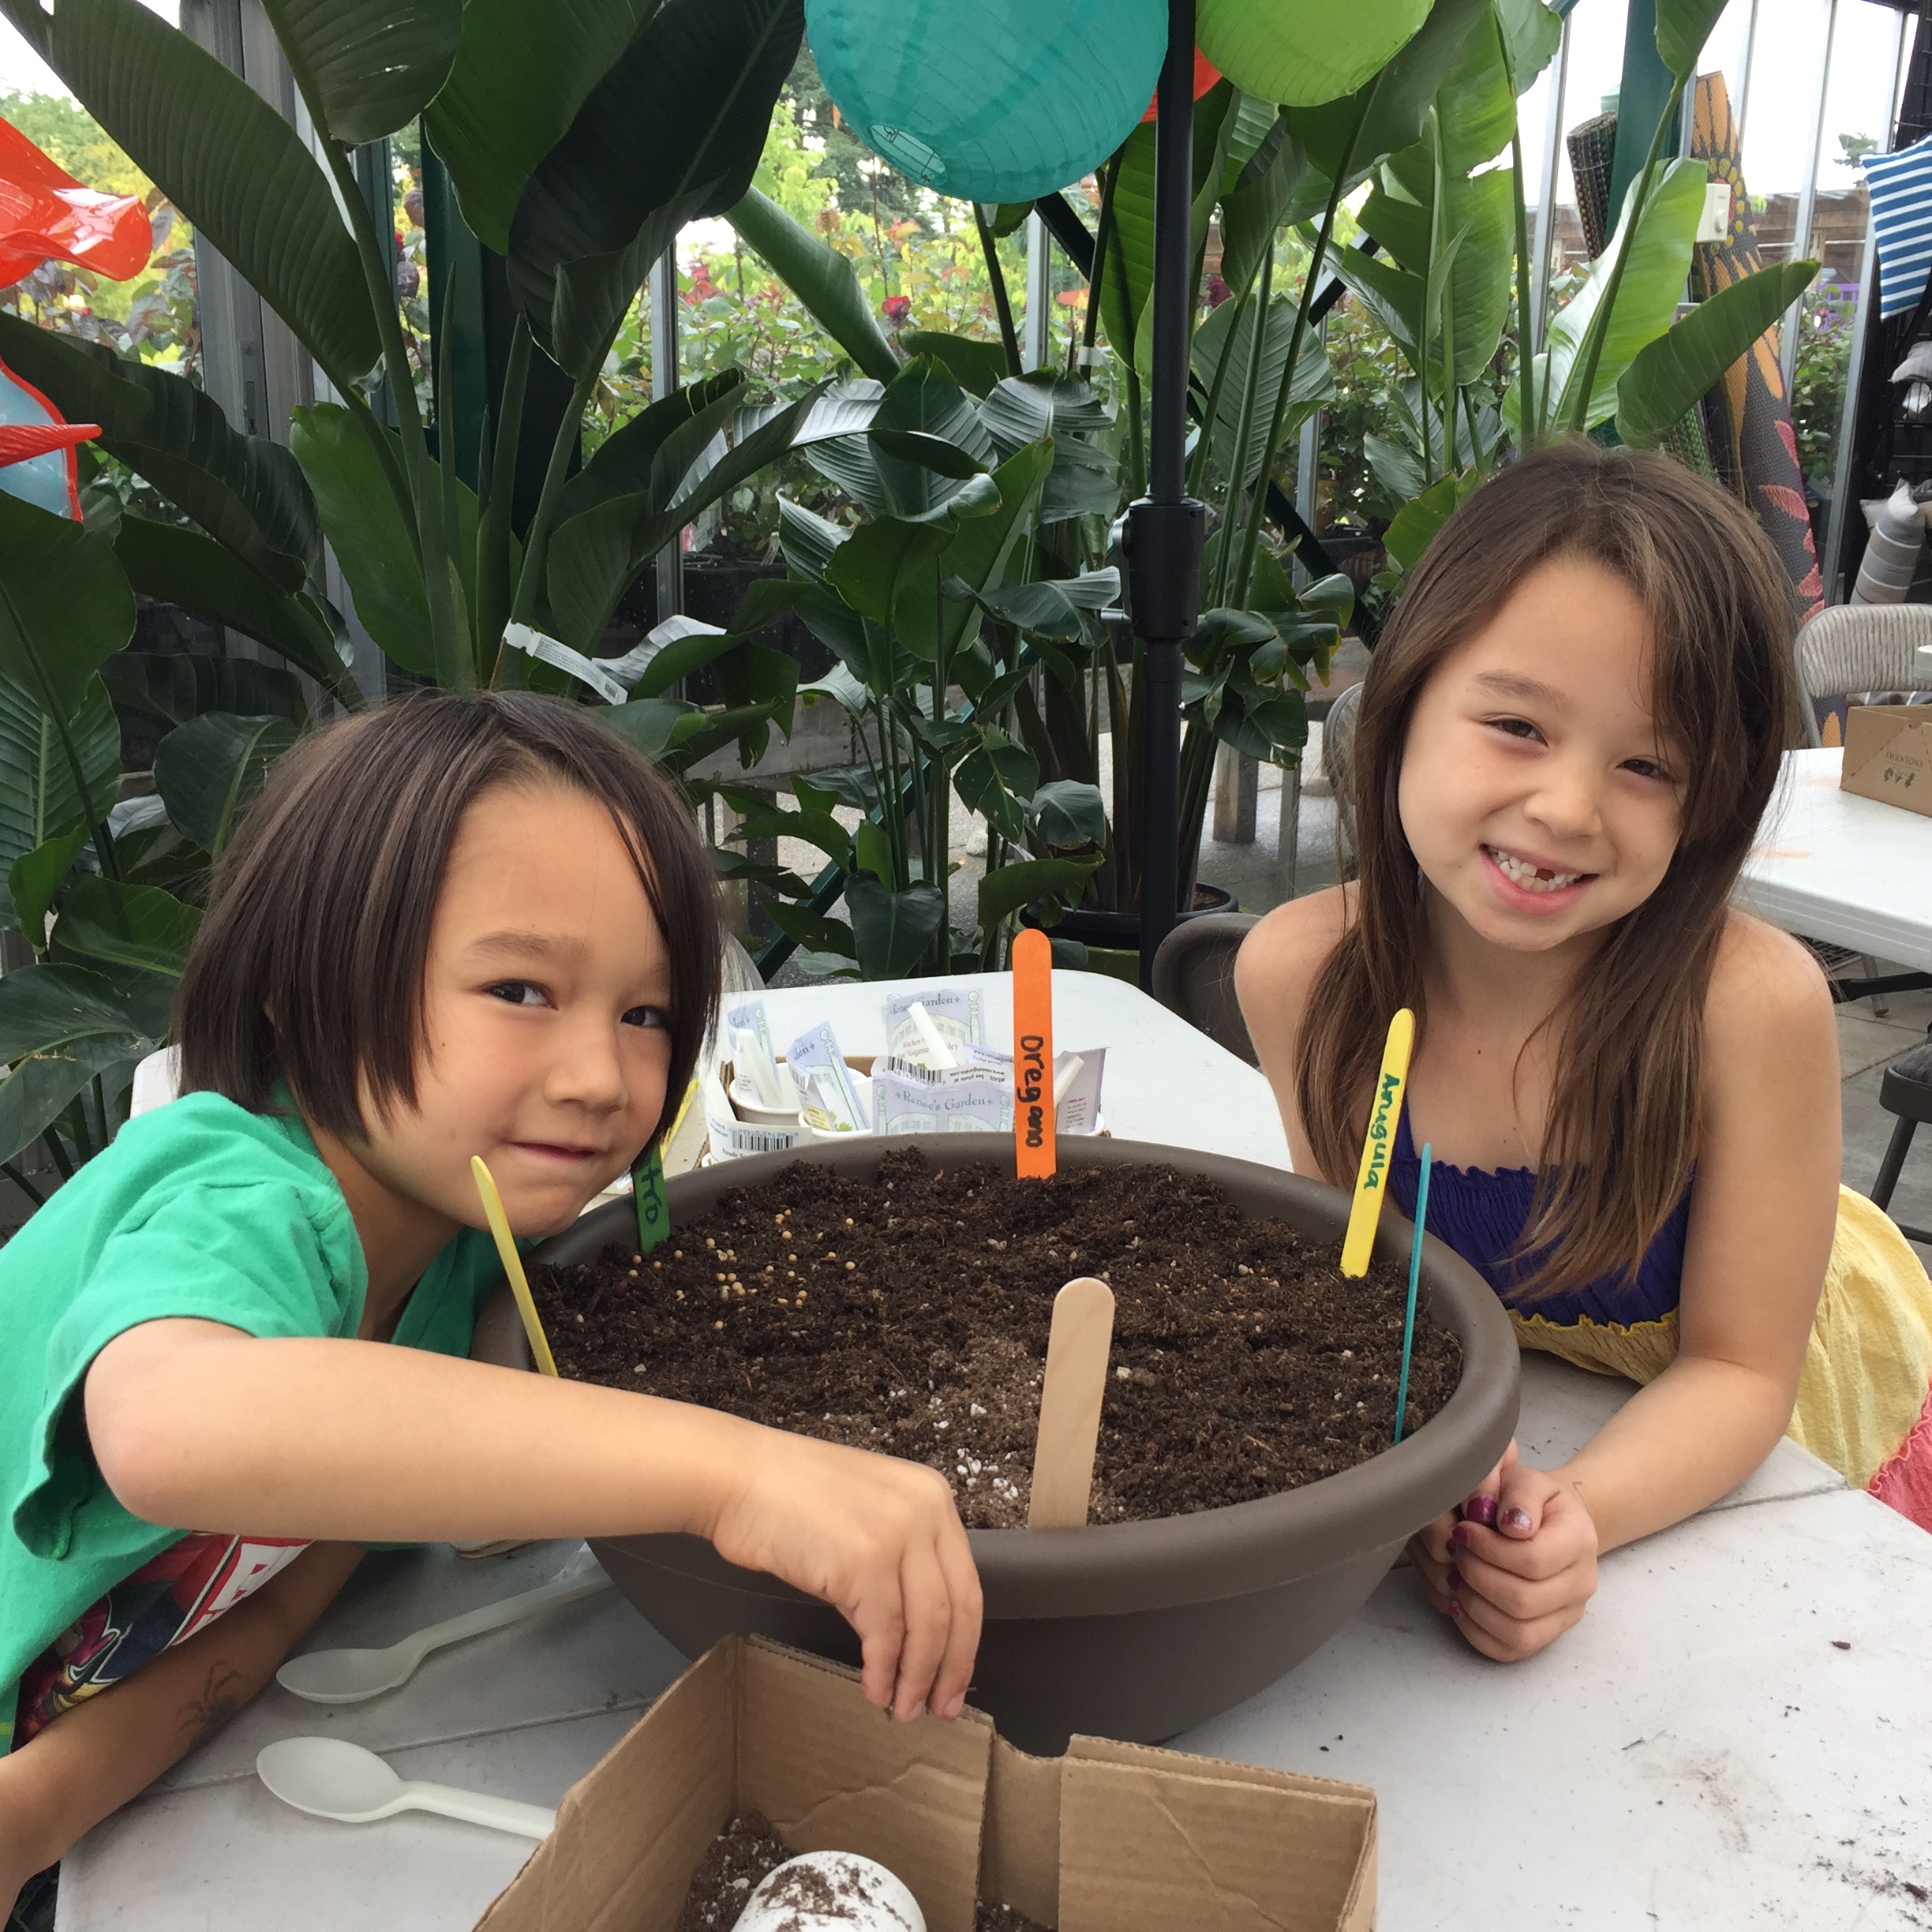
Here, the arugula has completely sprouted and the basil, oregano, and cilantro and just starting to sprout. Parsley and scallions should be on their way soon!
Materials Needed:
Plant labels
Round container
Potting soil
Seed-starting soil
Seeds: Arugula, Basil, Cilantro, Oregano, Parsley, Scallions - or any of your choice!
A sunny location outside
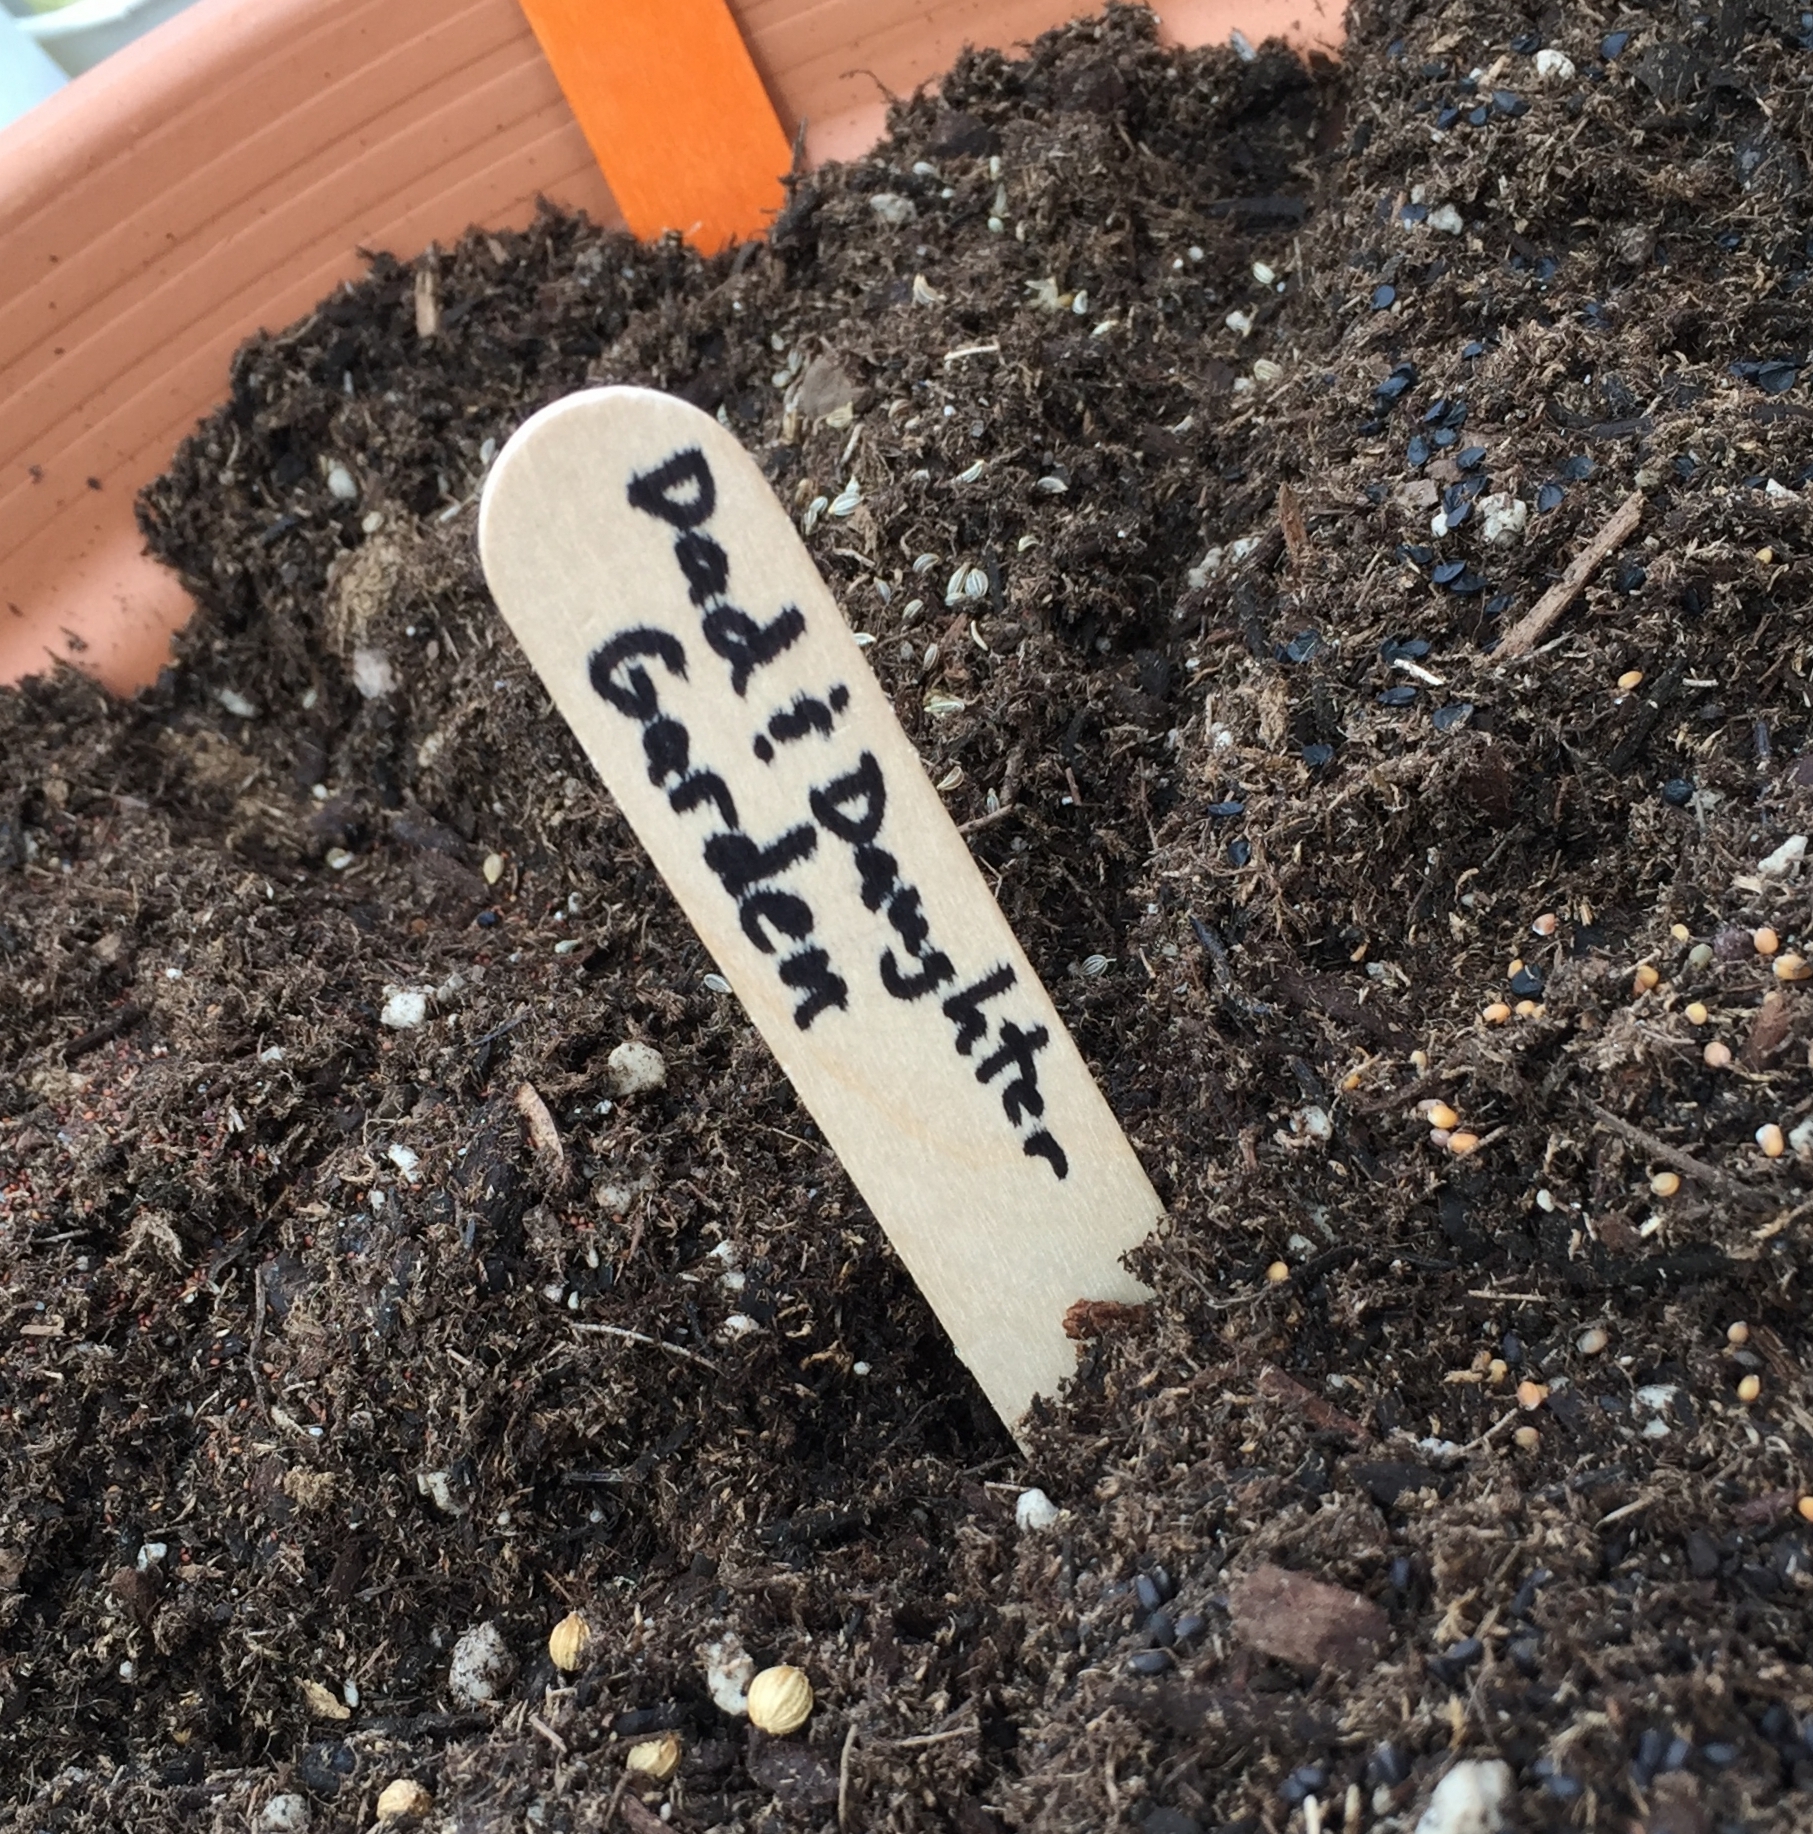
Step 1: Prep your Labels

Start by making the labels for all the seeds you will be planting. It’s really helpful to have these ready as you’re planting the seeds so you can easily keep track of which seeds are planted in which “slice”.
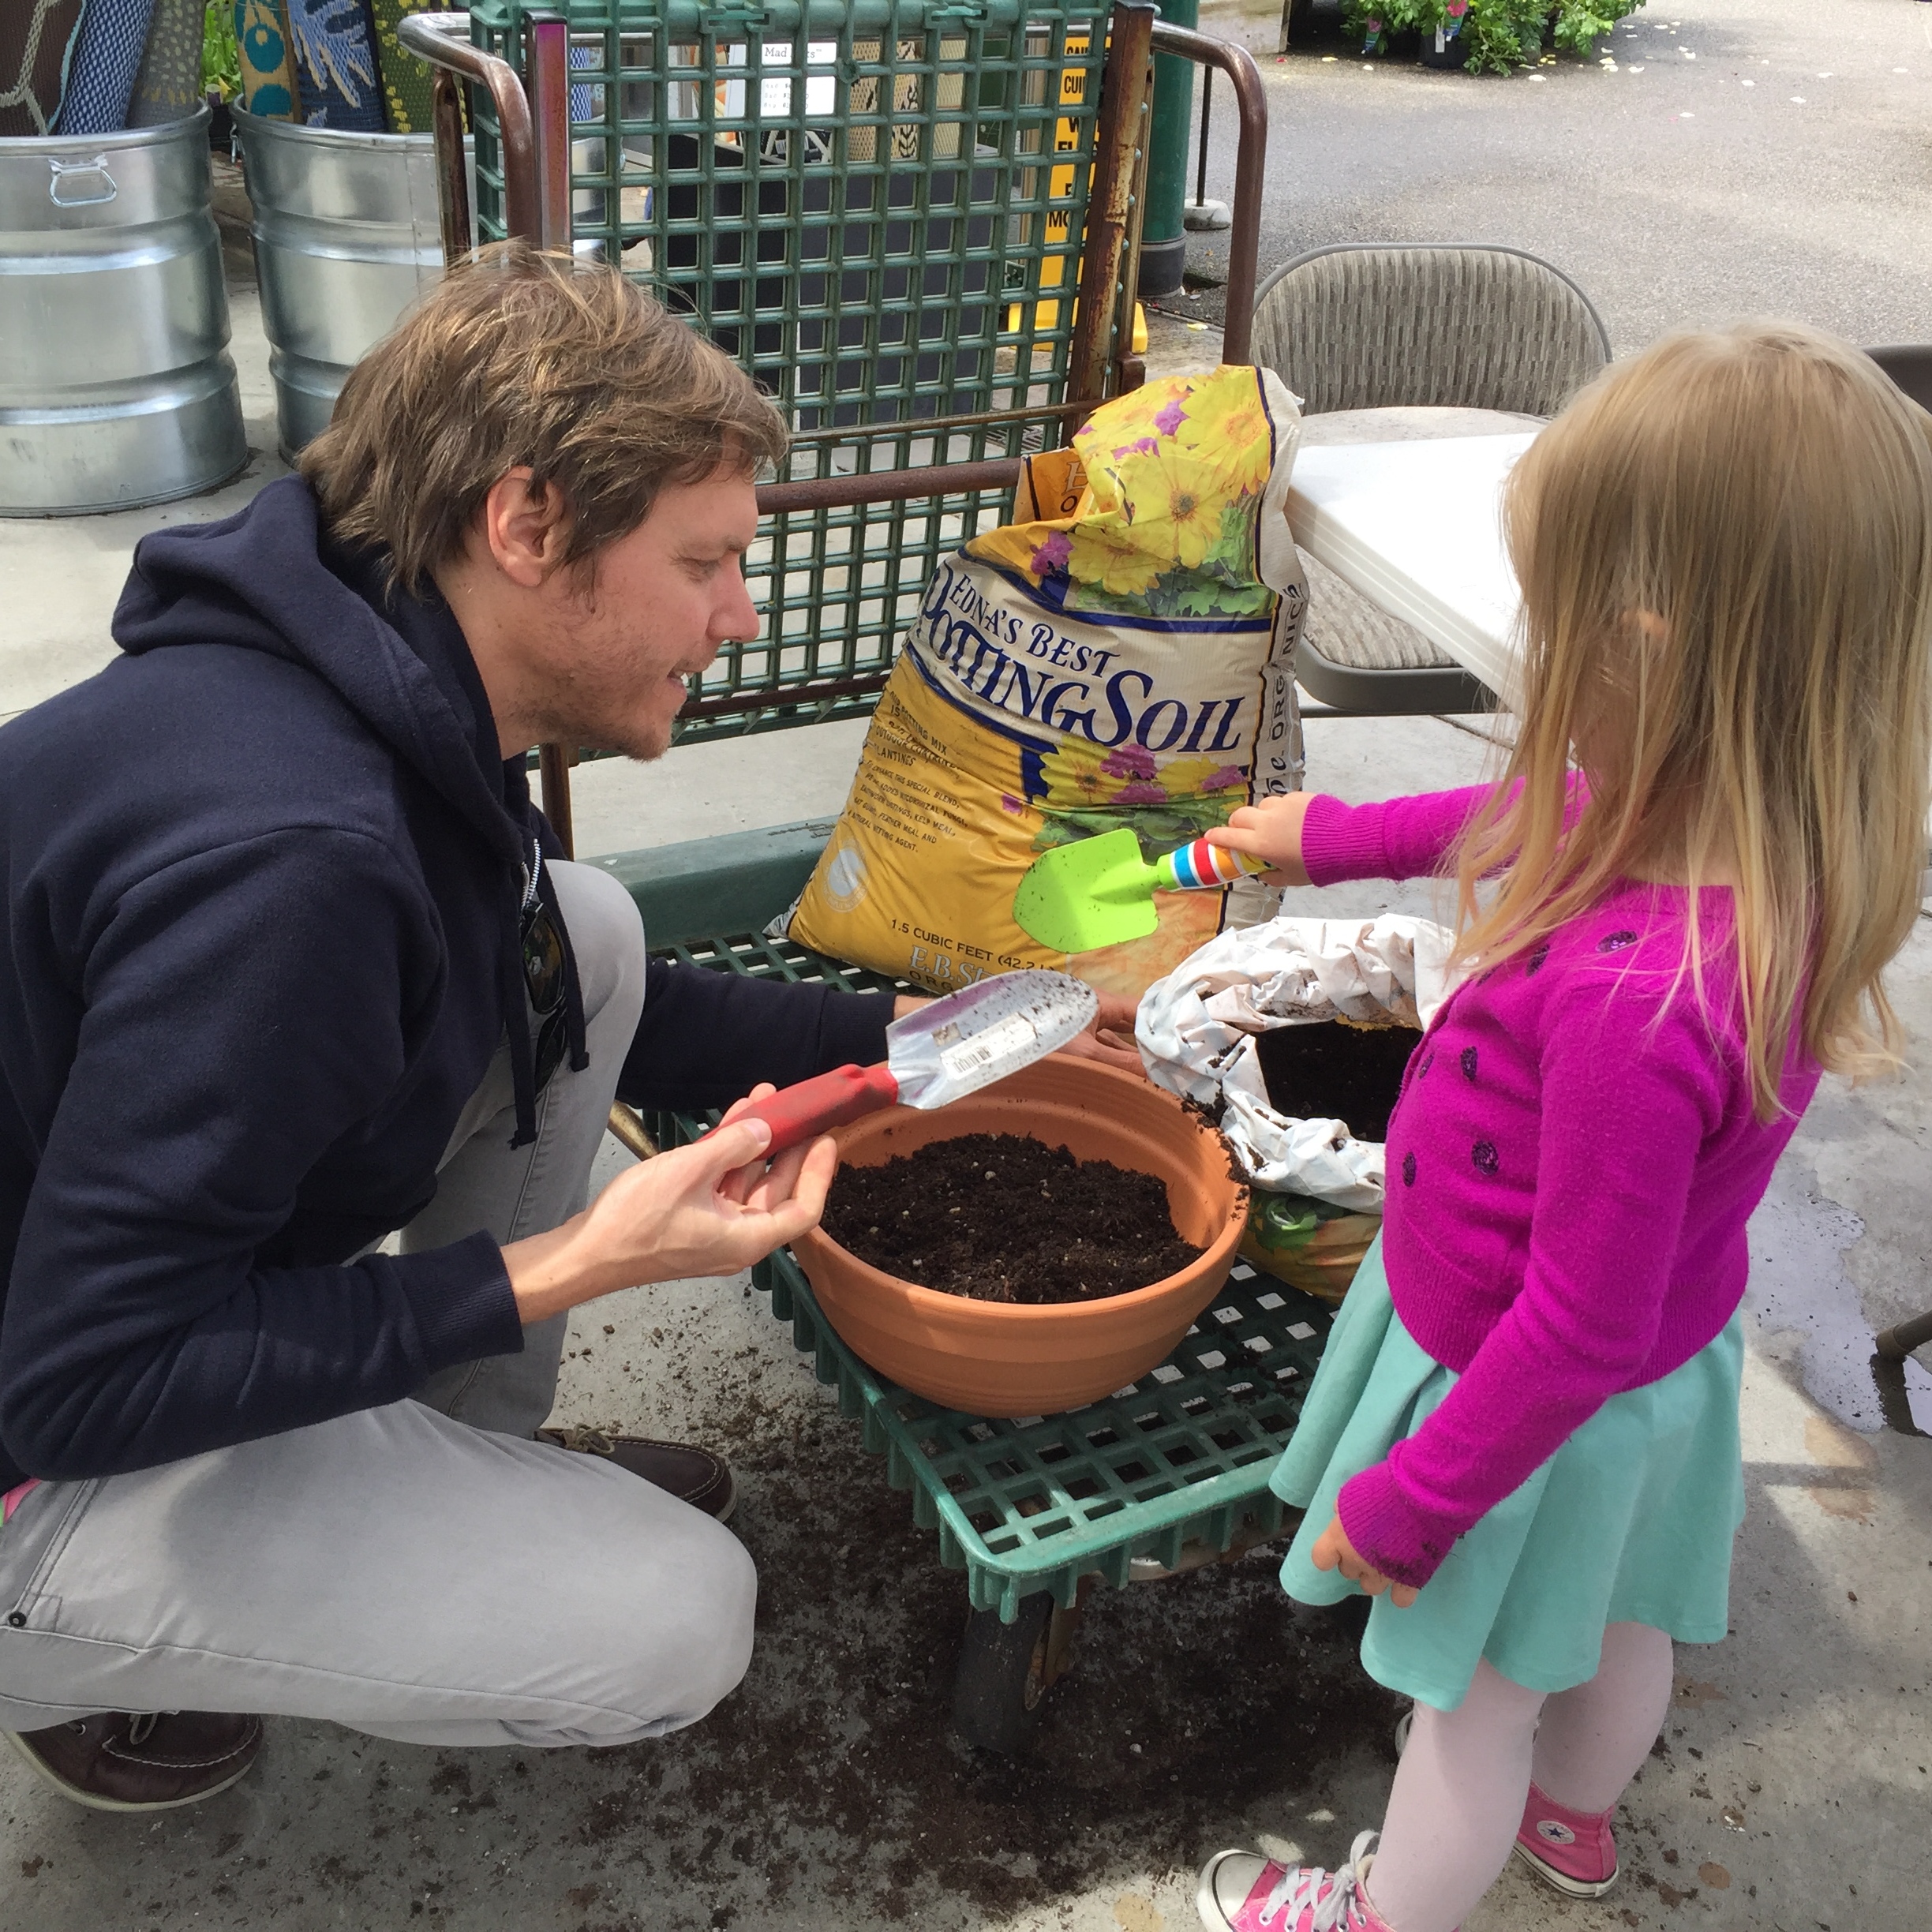
Step 2: Fill the Container with Soil
We used 12” round containers, and it worked out to be a great size. Fill until the soil reaches 1-2” below the container rim. We recommend using E.B. Stone Edna’s Best Potting Soil.
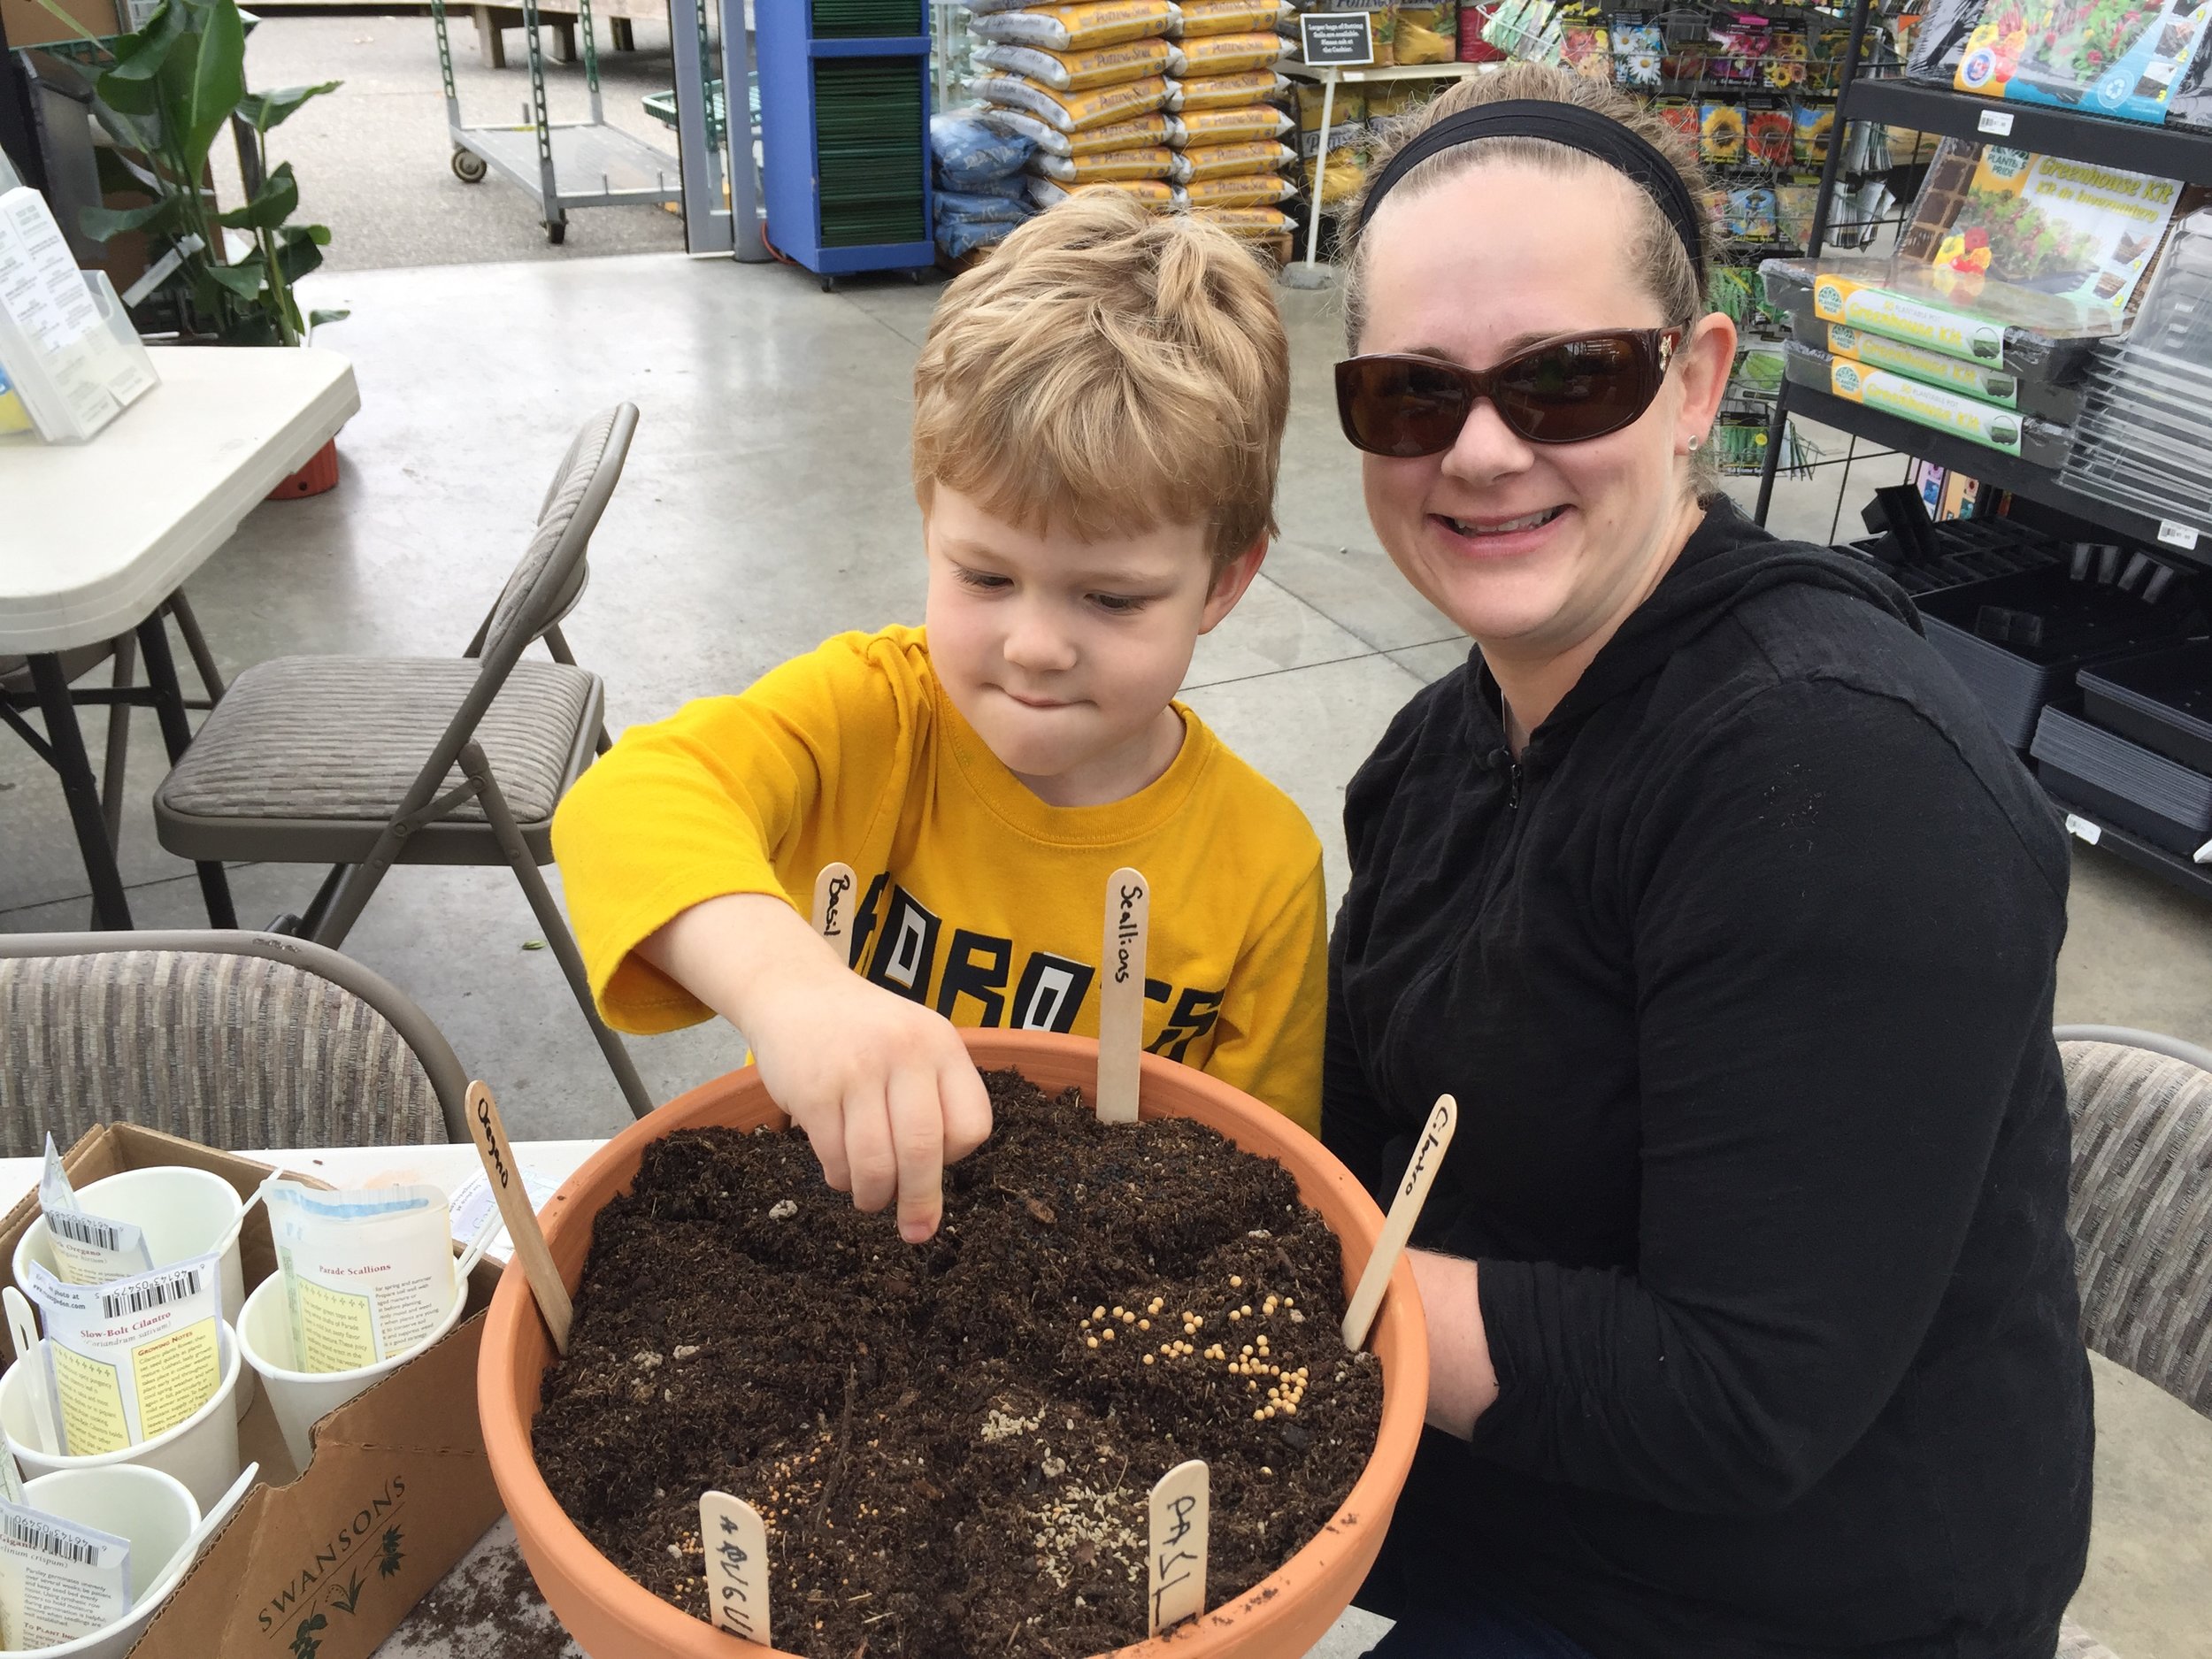
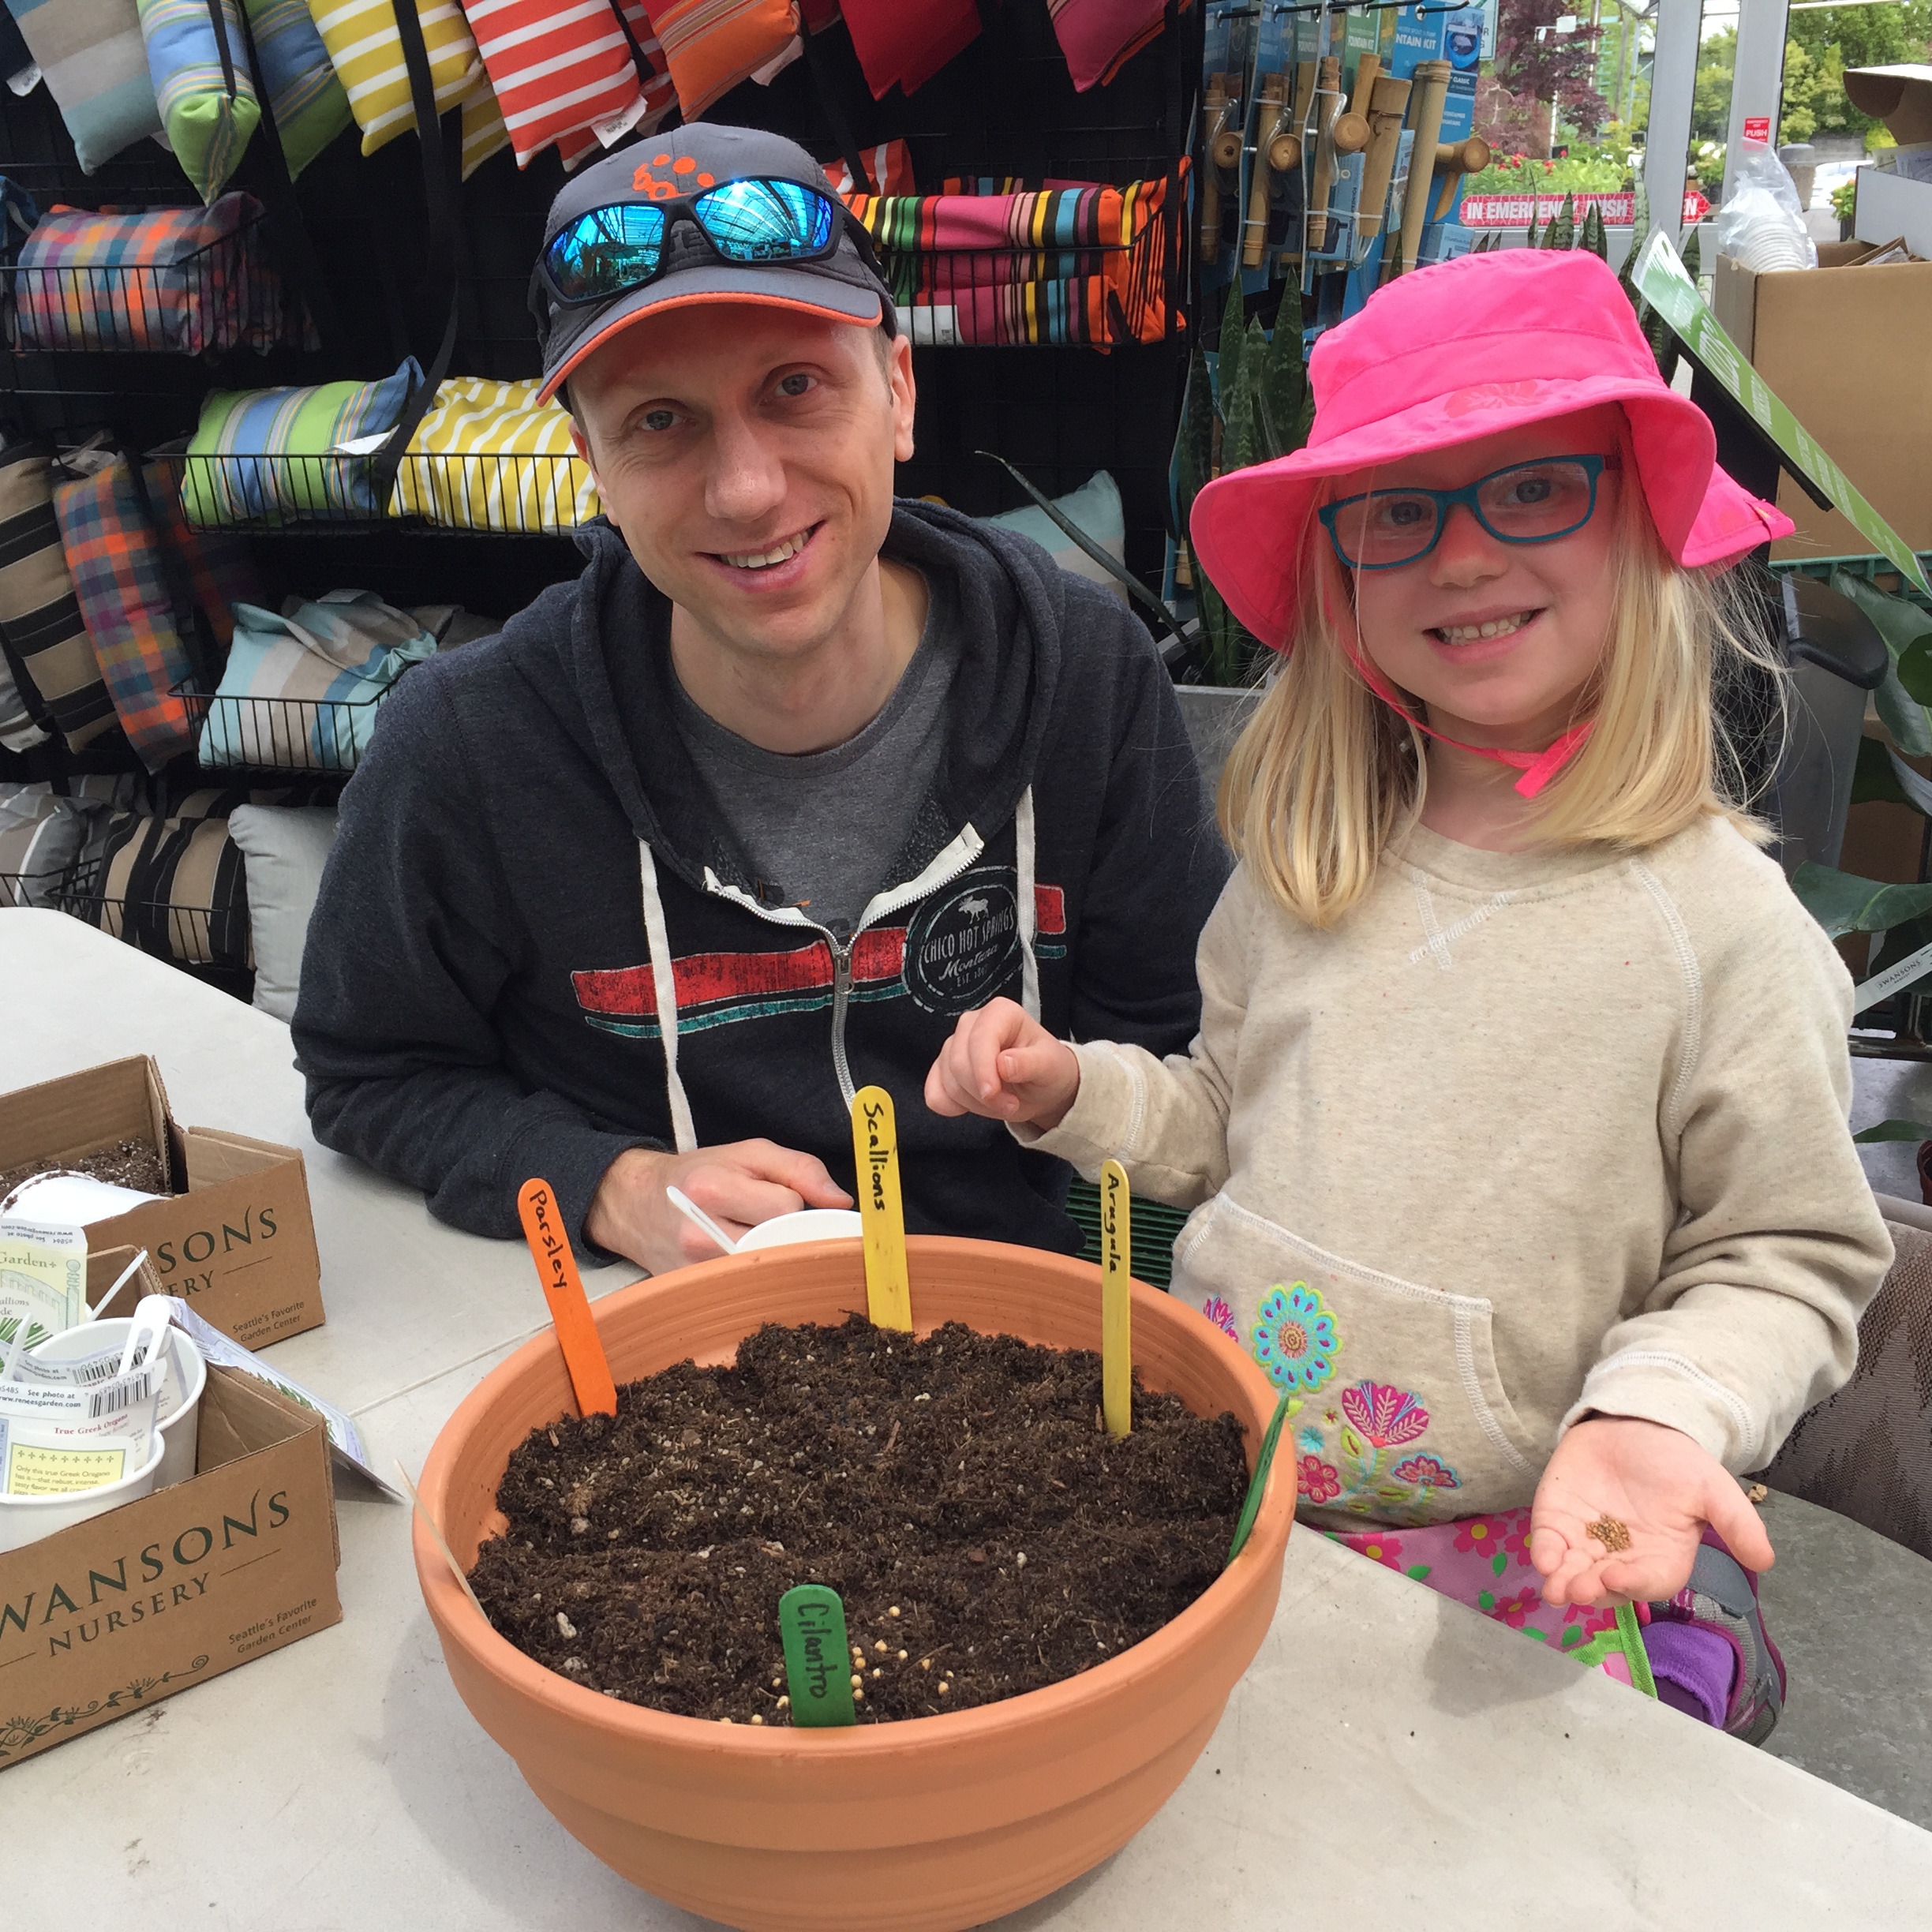
Step 3: Create “Pizza” Slices and Start Planting

Create "trenches" in the soil surface to look like pizza slices.
Before adding any seeds, create “trenches” with your finger to form 6 segments on the soil surface. These are intended to be guidelines that outline the sections you’ll plant within.
After you have your segments etched in the soil, sprinkle one type of herb seeds on the surface of each “slice”.
Remember to add labels as you go along!
Step 4: Cover the Seeds (EXCEPT the Oregano!)
Don’t cover the oregano seeds with anything. However, cover the rest of the seeds with ¼” of seed-starting soil. We loved using E.B. Stone Organics Seed Starting Mix. Seed-starting mixes offer the right conditions for seed germination, while the potting soil underneath offers more nutrients as they grow and mature.
Step 5: Water Your Pizza Garden
Find a sunny outdoor spot for your herb garden and gently water the container so the seeds aren’t disturbed. A rain nozzle on a watering can works best. Continue to keep the top 1-2” of soil moist. This means checking frequently to make sure that the plants have enough moisture. With the weather warming up, it’ll likely be necessary to water once or twice daily depending on how moist the soil is.
Step 6: Watch Your Garden Grow
Try to be patient! It may take between 7 and 21 days before all the seeds germinate. As your herb garden grows, you can begin to harvest herbs, but remember never to remove more than 1/3 of any herb at one time. Regularly harvesting your herbs will keep the plants bushy and happy!
