
Coaxing new life out of a seed is one of the highlights of the year for gardeners, right up there with harvesting perfectly ripe vegetables (at least in my opinion). I’ll never tire of watching delicate seedlings break through the soil and stretch towards the light (hopefully not having to stretch too far!) and I love the feeling of productivity that starting seeds indoors gives me as winter seems to drag on and on. It’s like a little bit of the life and hope of spring inside my home.
Starting seeds indoors gives your vegetables, herbs, and flowers a head start so they can grow larger and have better (and longer) harvests or flowering periods. With a few basic supplies and a little patience, it’s easy and fun to start seeds indoors. As everyone knows, a little tending is good for the soul!
Seed-Starting Supplies
Seedling tray with cells, drip tray, and cover
Seed-starting soil mix
Fluorescent or LED grow lights
Heat Mat
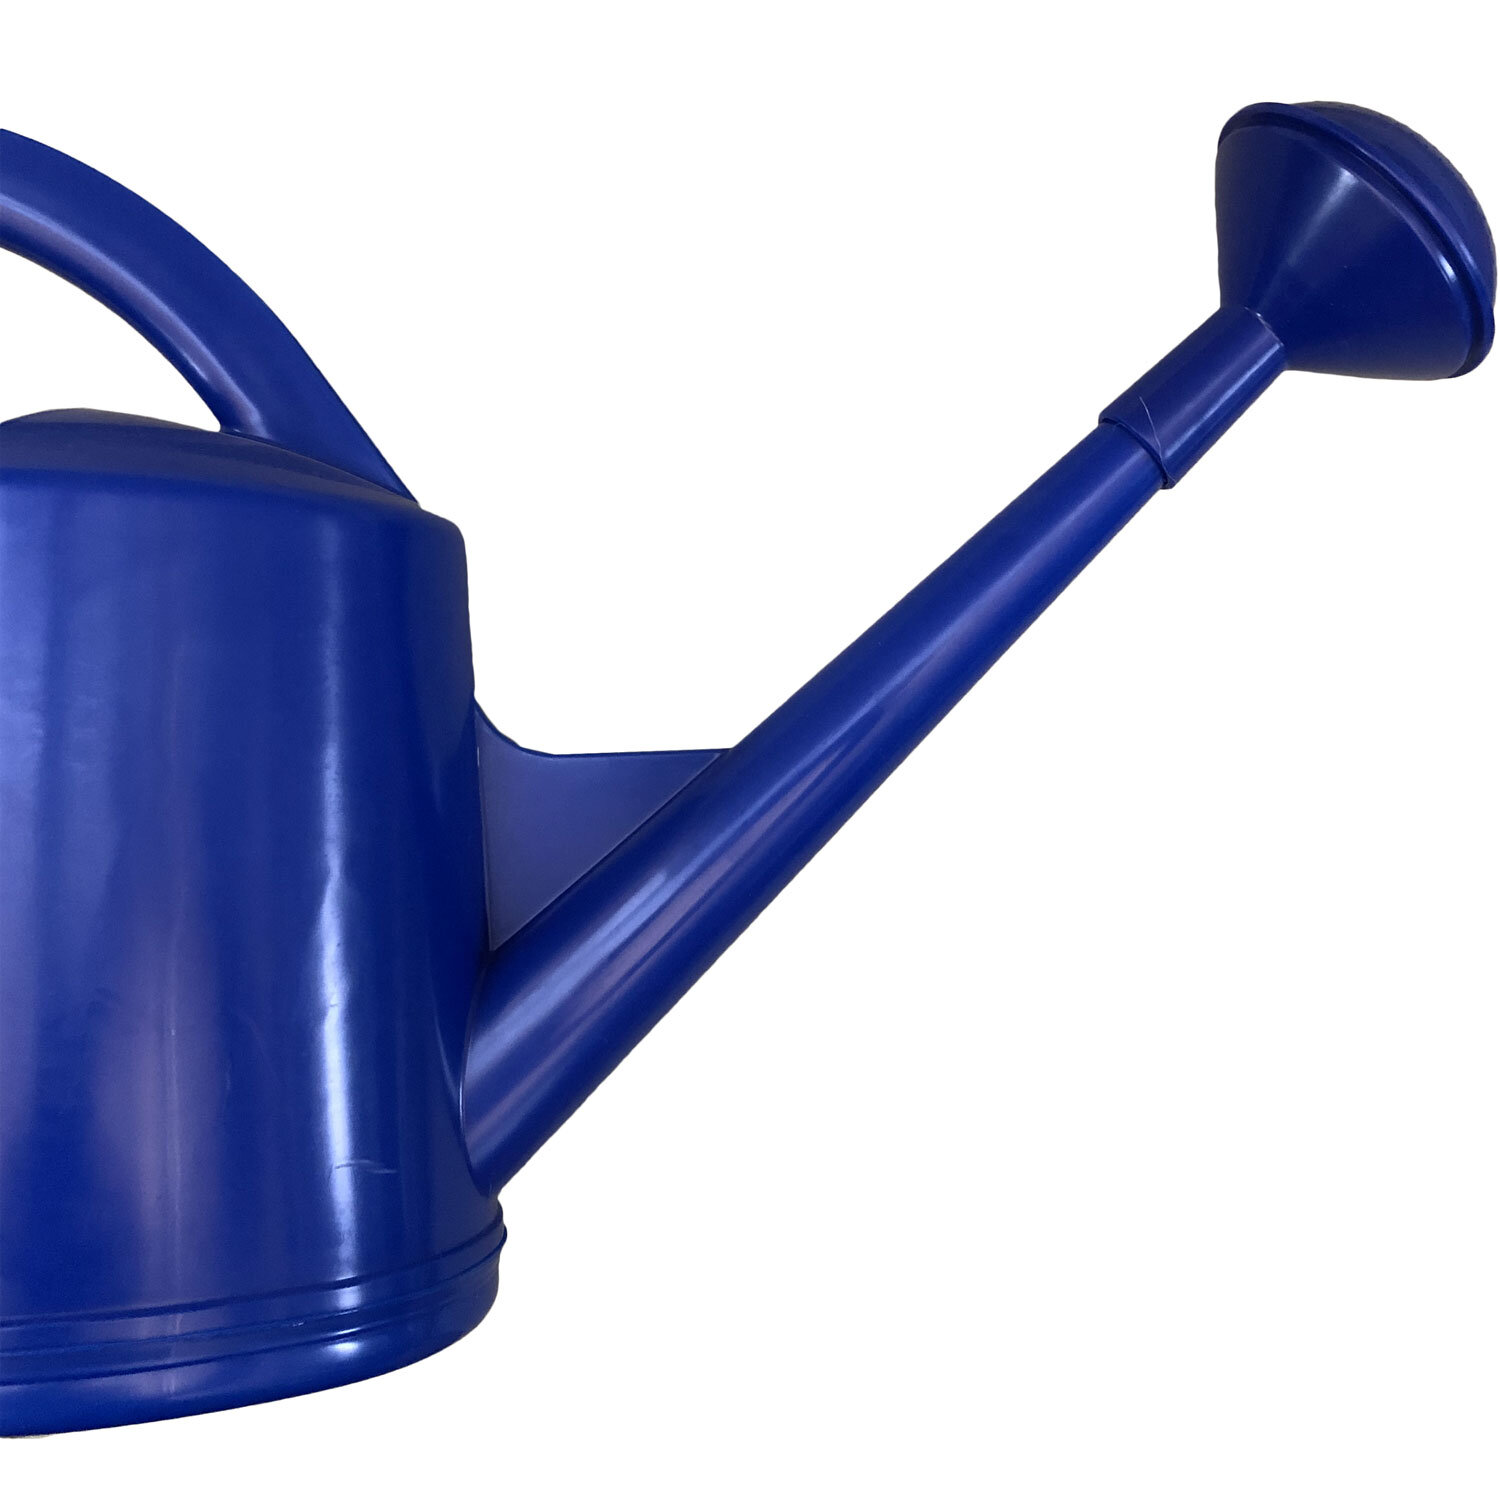
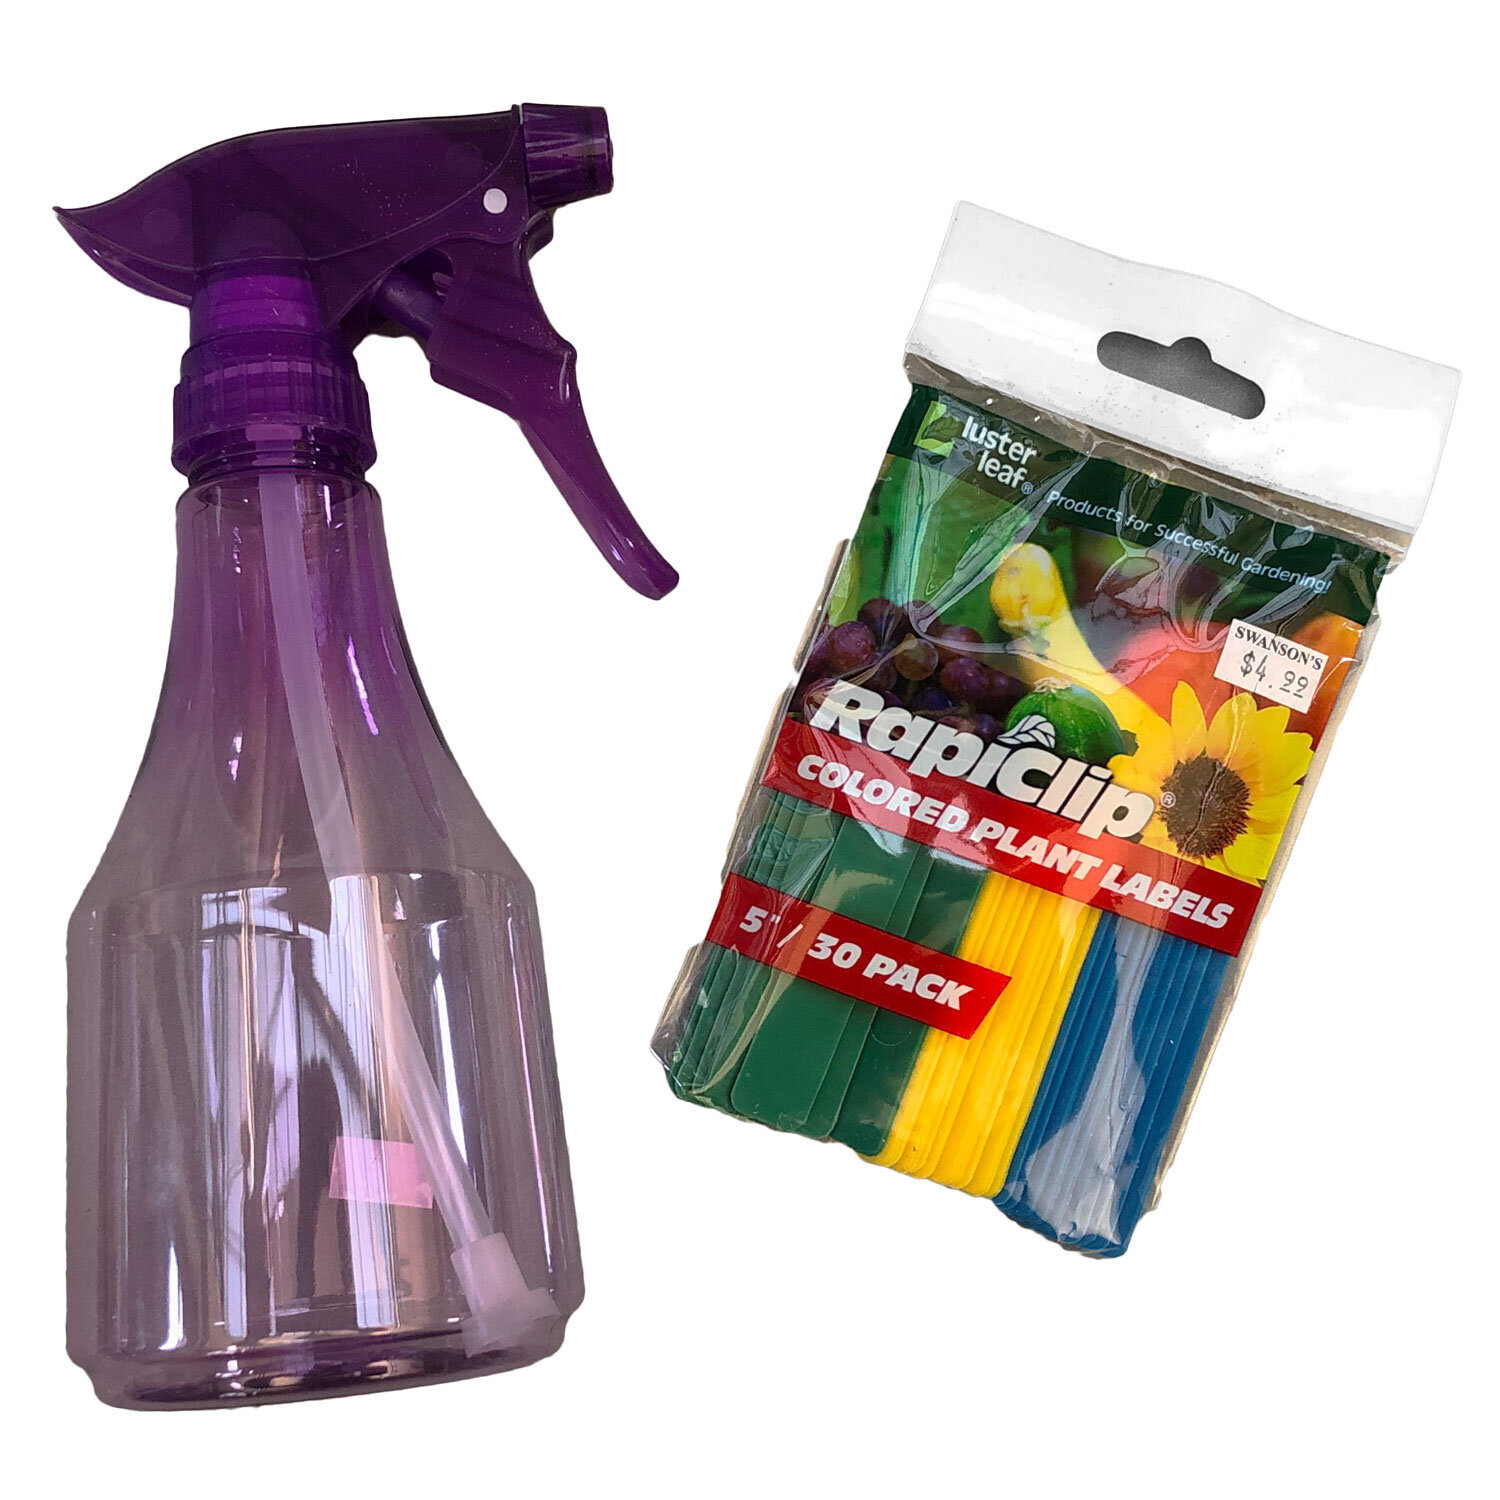
Spray bottle “mister” and watering can with rain nozzle
Plant labels
Seeds
Face mask (optional) - we’re all pretty experienced with these nowadays!
Don’t have time for a lot of details? Don’t worry, I won’t take it personally. You can jump straight to the section How to Start Seeds Indoors in 4 Easy Steps (and come back to the details another time. I mean, they are pretty good details. Just saying).
Seedling Trays
You can start seeds in almost any small container as long as it allows drainage but the easiest and most efficient choice is a seedling tray with cells (compartments). When it’s time to transplant, it’s easy to slide the plant and soil out of the cell and into the garden or a larger pot. These plastic trays can be reused for several years. Just remember to clean them well before reusing them.
You will also need a drip tray to catch draining water and a clear cover, which is essential for keeping in moisture and heat while your seeds germinate.
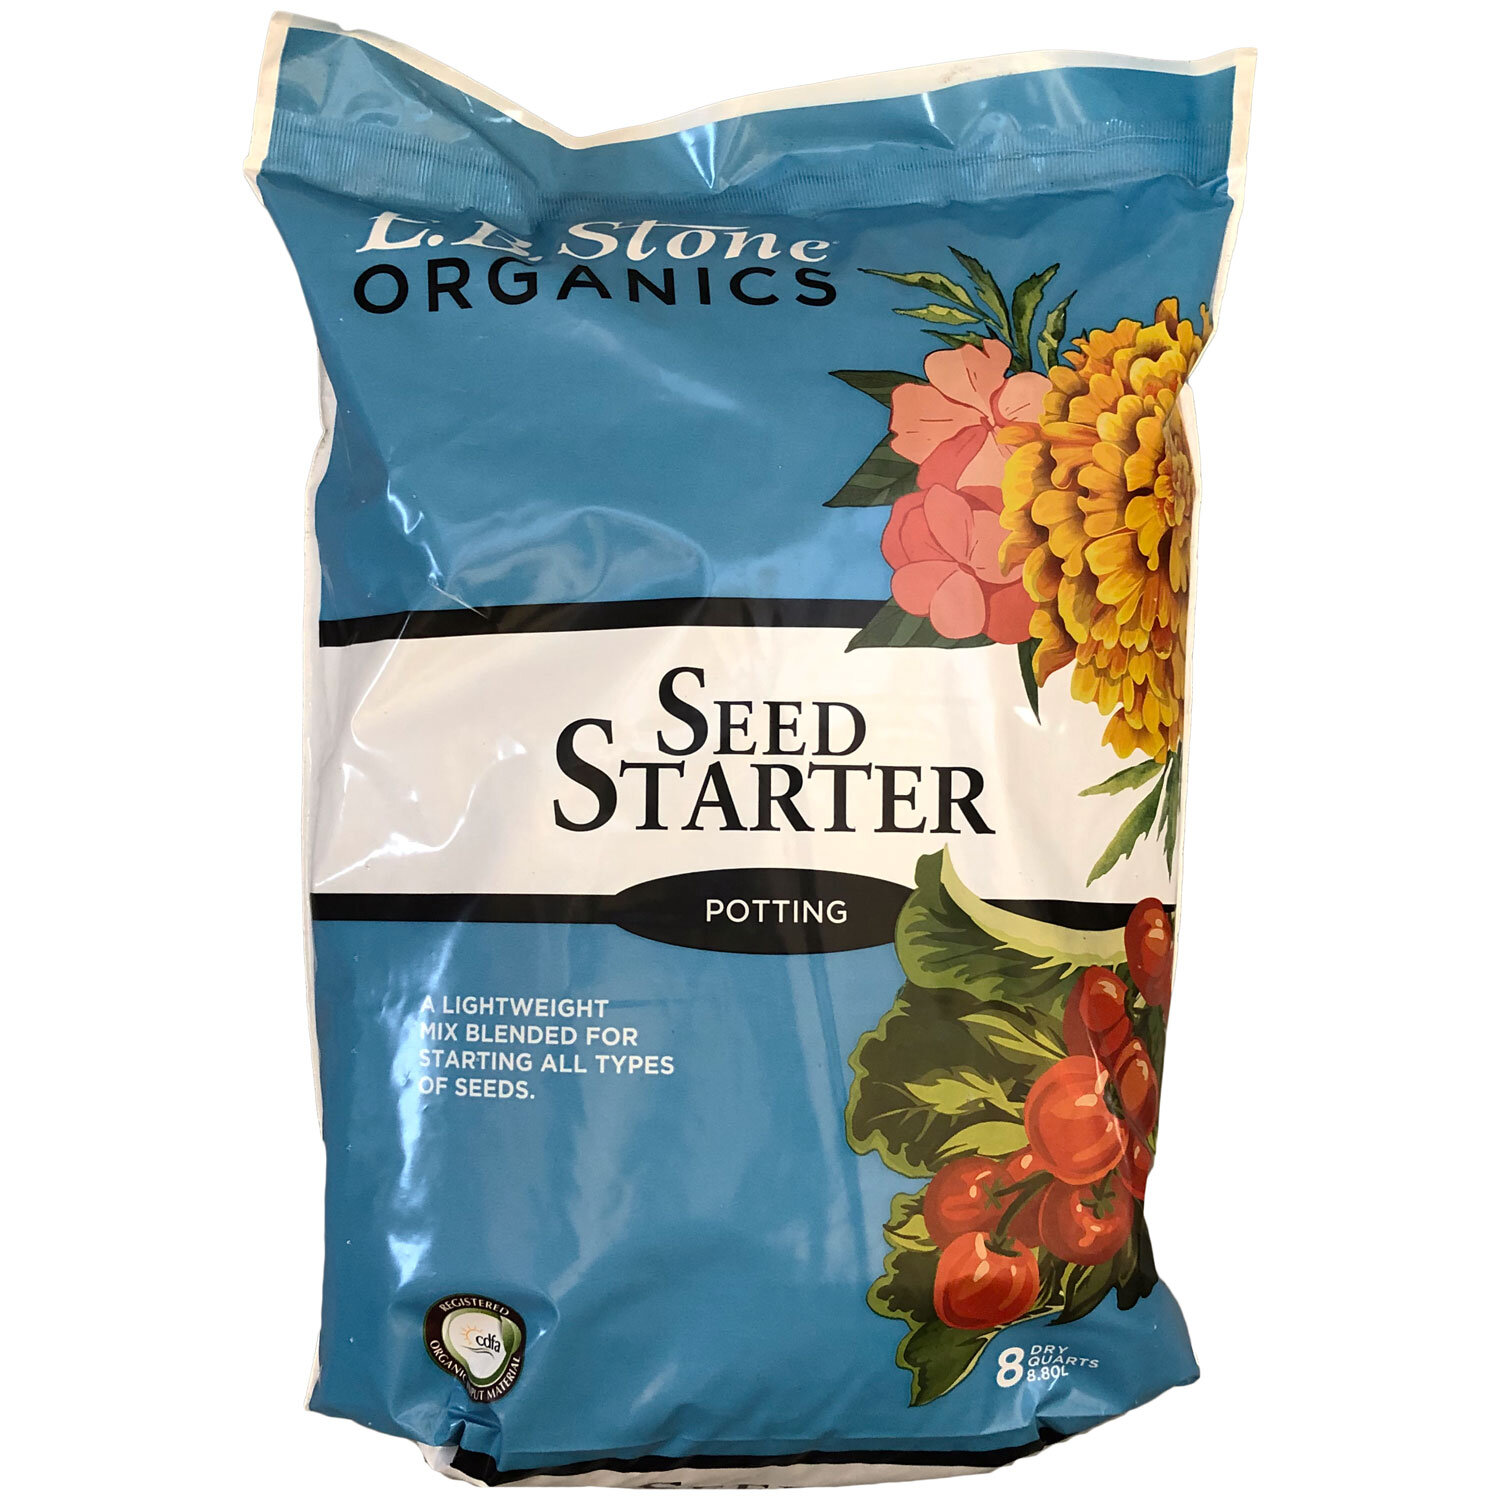
Soil for Seeds
Seeds need sterile, lightweight, moisture-retaining soil that is also well-draining. I recommend E.B. Stone Organics Seed-Starter Mix. Before sowing, place the soil in a large bowl, sprinkle with water, and mix to moisten it evenly. This is when you might want to wear a face mask since the soil is very fine and dusty, and can irritate airways. You’ll also want to wipe down any nearby surfaces with a damp cloth when you’re done.
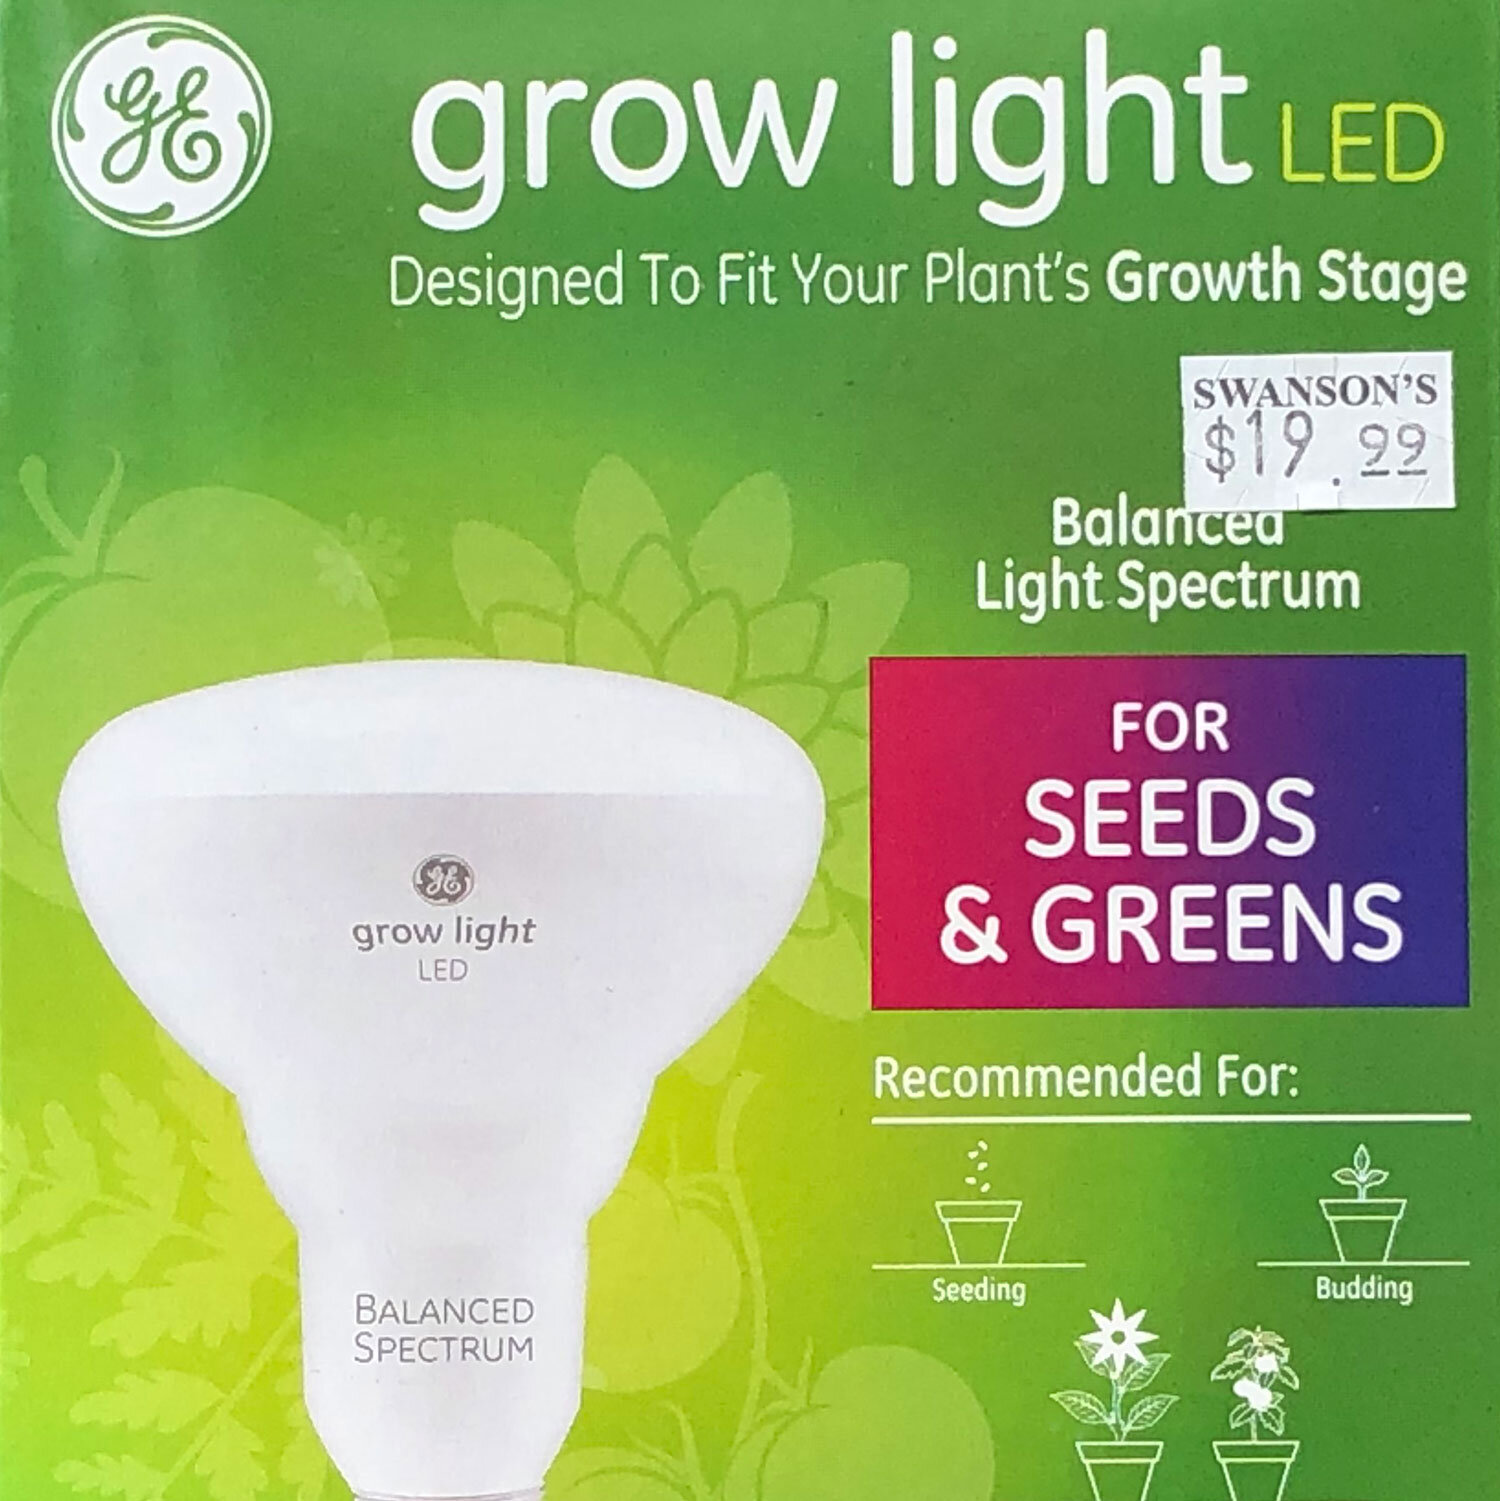

Lights
Light is essential! Sadly, our PNW winters don’t offer enough light to help a seedling grow big and strong (yes, even in a south-facing window. It’s all those clouds). You don’t want pale, gangly, weak seedlings, do you? I didn’t think so. So… you need lights.
You can use T12 or T8 fluorescents but T5 high output fluorescent lights or LED grow lights are more efficient. The nice thing about LED lights is that they offer the same strength of light until they burn out. With fluorescents, the strength can wane as they age, so it’s recommended to change them every 12 months, even if they haven’t completely burnt out. Get fancy with red/blue spectrums or, if you don’t want your home to look like a nightclub, stick to all-spectrum white, which will work just as well.
Position the lights about 2-3 inches over the seedlings and adjust them to keep them at this distance as the plants grow. A chain on hooks makes it easy to adjust the height of the lights. If your light source is fixed, you can just adjust the height of the trays. Turn the lights on after your seeds have germinated (the exception is lettuce, which needs light to germinate). Seedlings like 12-16 hours of light per day. A timer makes it easy; no remembering to turn the lights on and off.
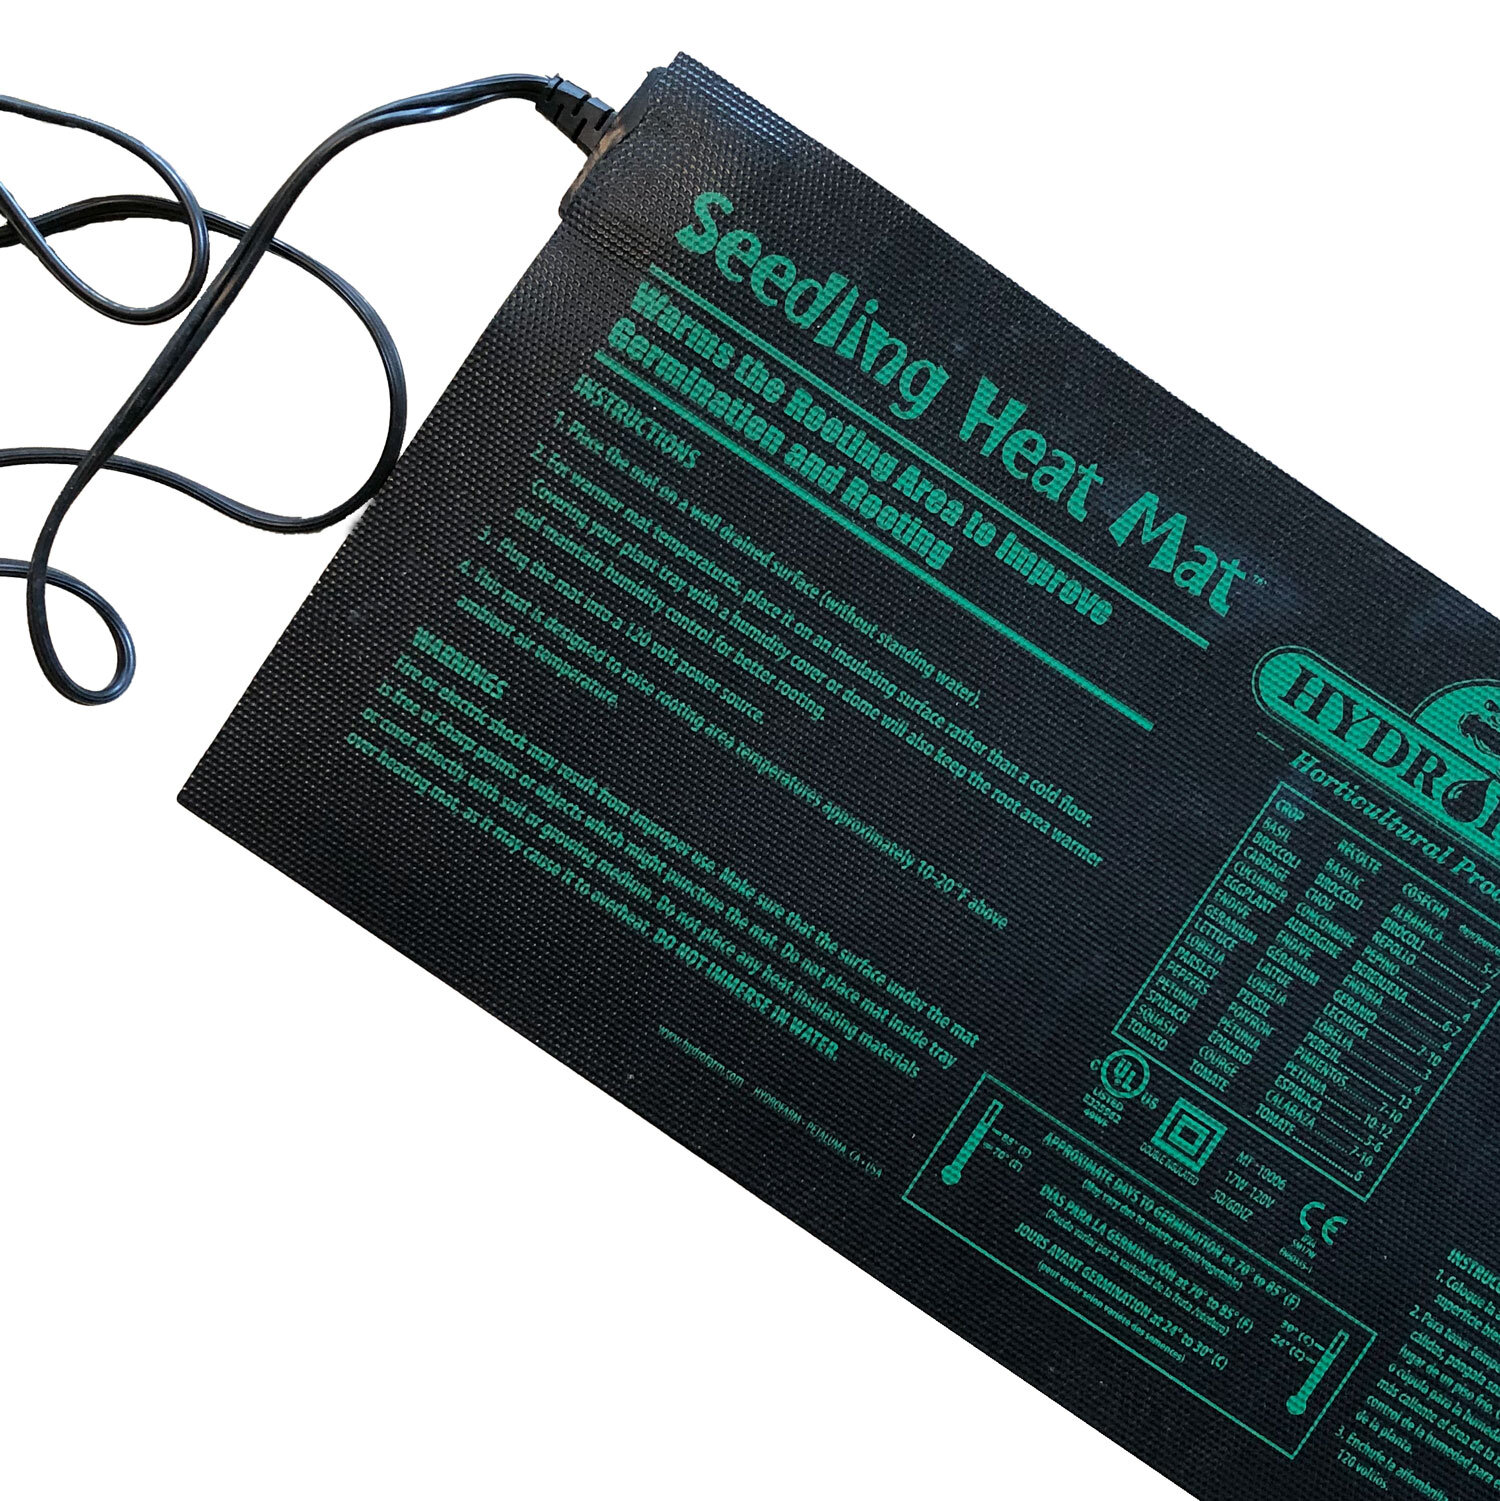
Heat Mat
Imagine it: you’re cold, it’s dark, and it’s damp. Do you feel like waking up and expending energy? I certainly wouldn’t. Add a little heat to the mix, though, and… well, I still wouldn’t want to wake up but your seeds will. Many seeds will germinate only in warmer soil temperatures and a heat mat can help speed up germination and keep fungus from growing. You can remove the heat mat when your seeds have germinated.
Mister and Watering Can
A spray bottle/mister is perfect for keeping the soil damp but not soggy while you wait for your plants to germinate and also while the seedlings are tiny. Once they’ve grown a bit, you can begin to water with a watering can that has a rain nozzle so the water is gently dispersed and doesn’t flatten your seedlings or you can also water from the bottom if you use plastic cells. Just fill the solid tray underneath your containers with an inch or two of water, which will be absorbed by the soil, keeping the seedlings safe from floods.
I recommend filling a large watering can or bottle with tap water and letting it sit for a few hours to a day to warm to room temperature. Seedlings aren’t much for cold showers!
Plant Labels
I admit I’ve been known to skip labeling my seedlings, imagining that I would definitely remember which cell contained which precious seed. Yeah, right. The larger the variety of seeds you plant, the more you need to label them so you’ll know what is growing where. The plants may look distinctive when they're mature but many seedlings look a lot alike when they’re just getting started.
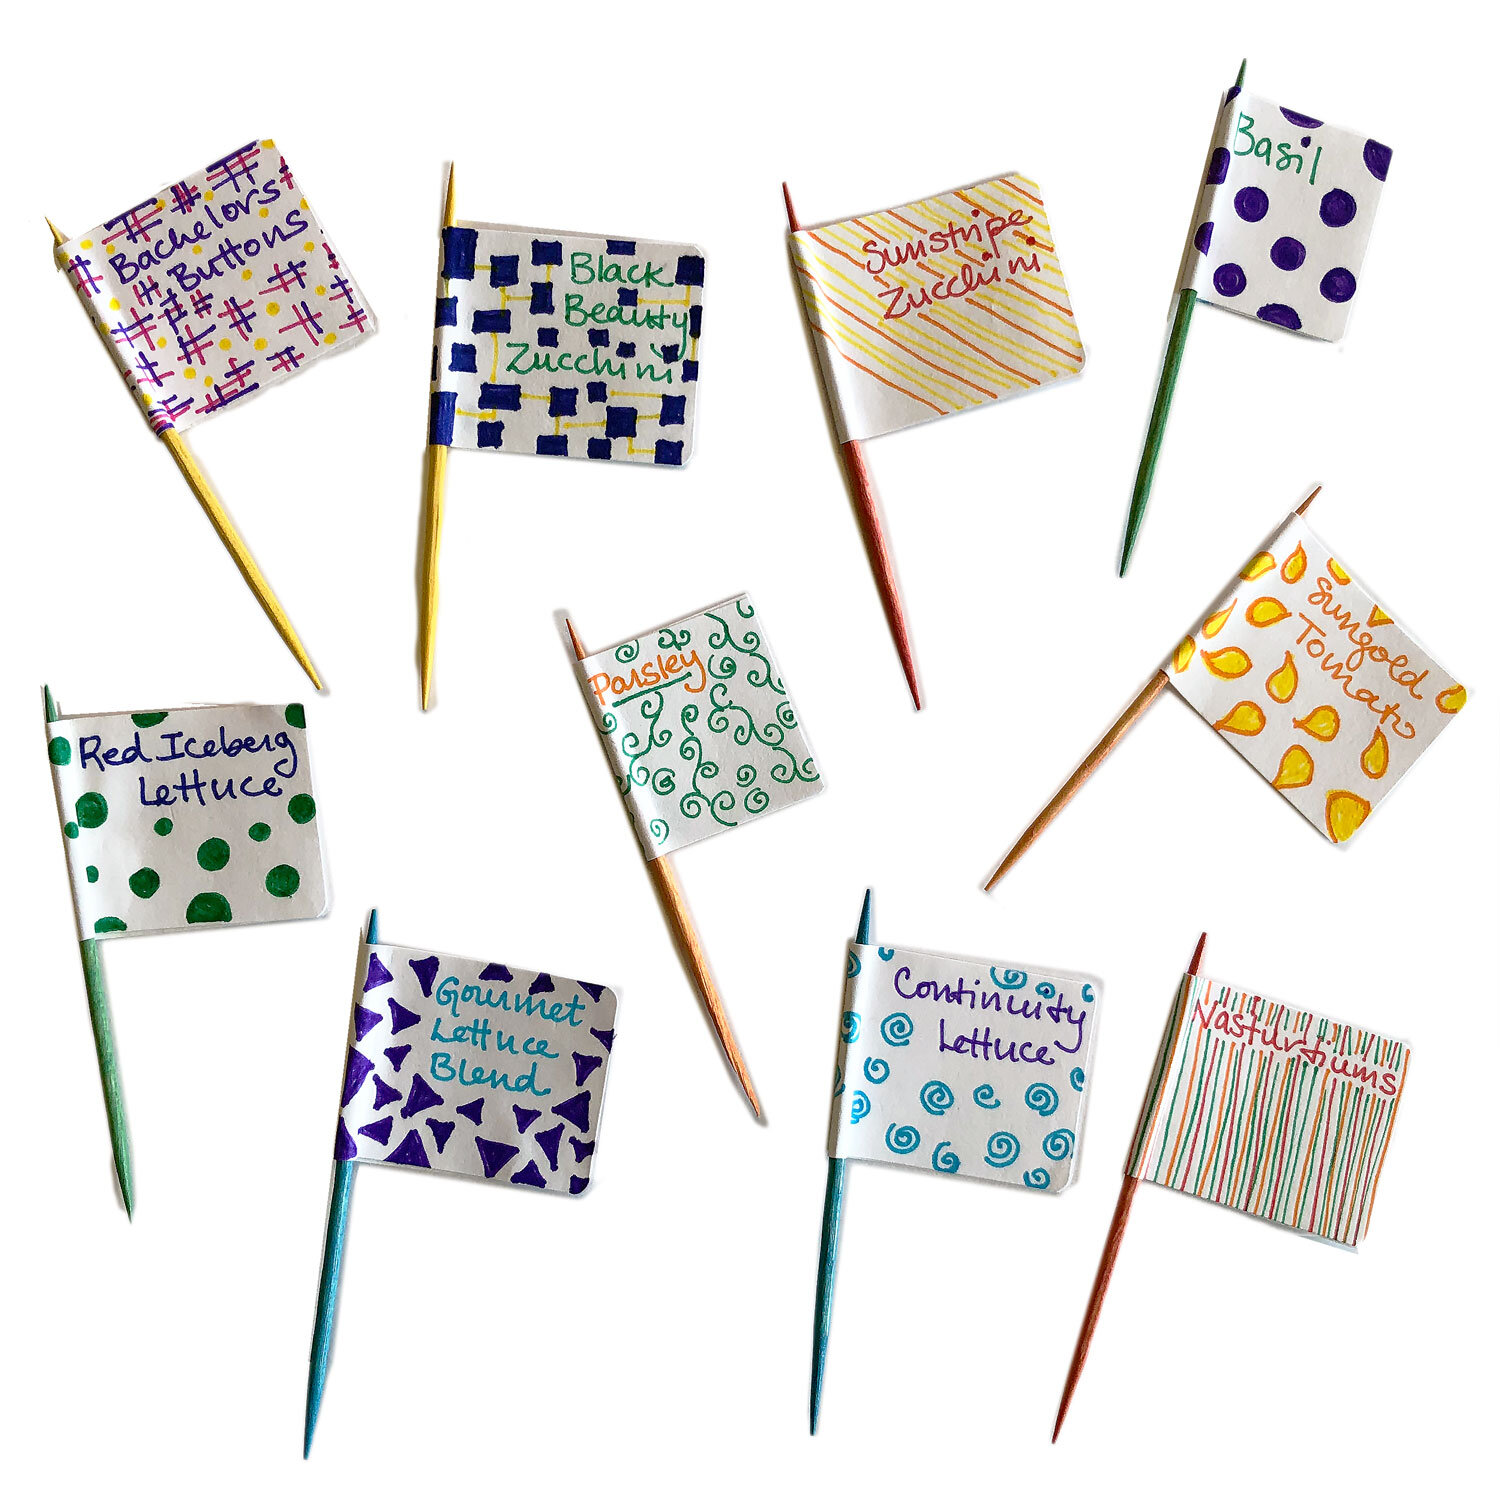
I made flags with toothpicks, sticker labels, and markers, and used clear tape to cover them. While they still wouldn’t last long inside the tray when it’s covered, they work really well after the cover comes off (if I try to not drench them when watering). I also like colorful Rapiclip plastic plant tags, which can be transferred out to the garden with the seedlings and used year after year. Just write the name of the plant in a permanent marker. For either type of label, I tape them to the outside of the cover until the seeds germinate and the cover comes off; then I stick them into the soil.
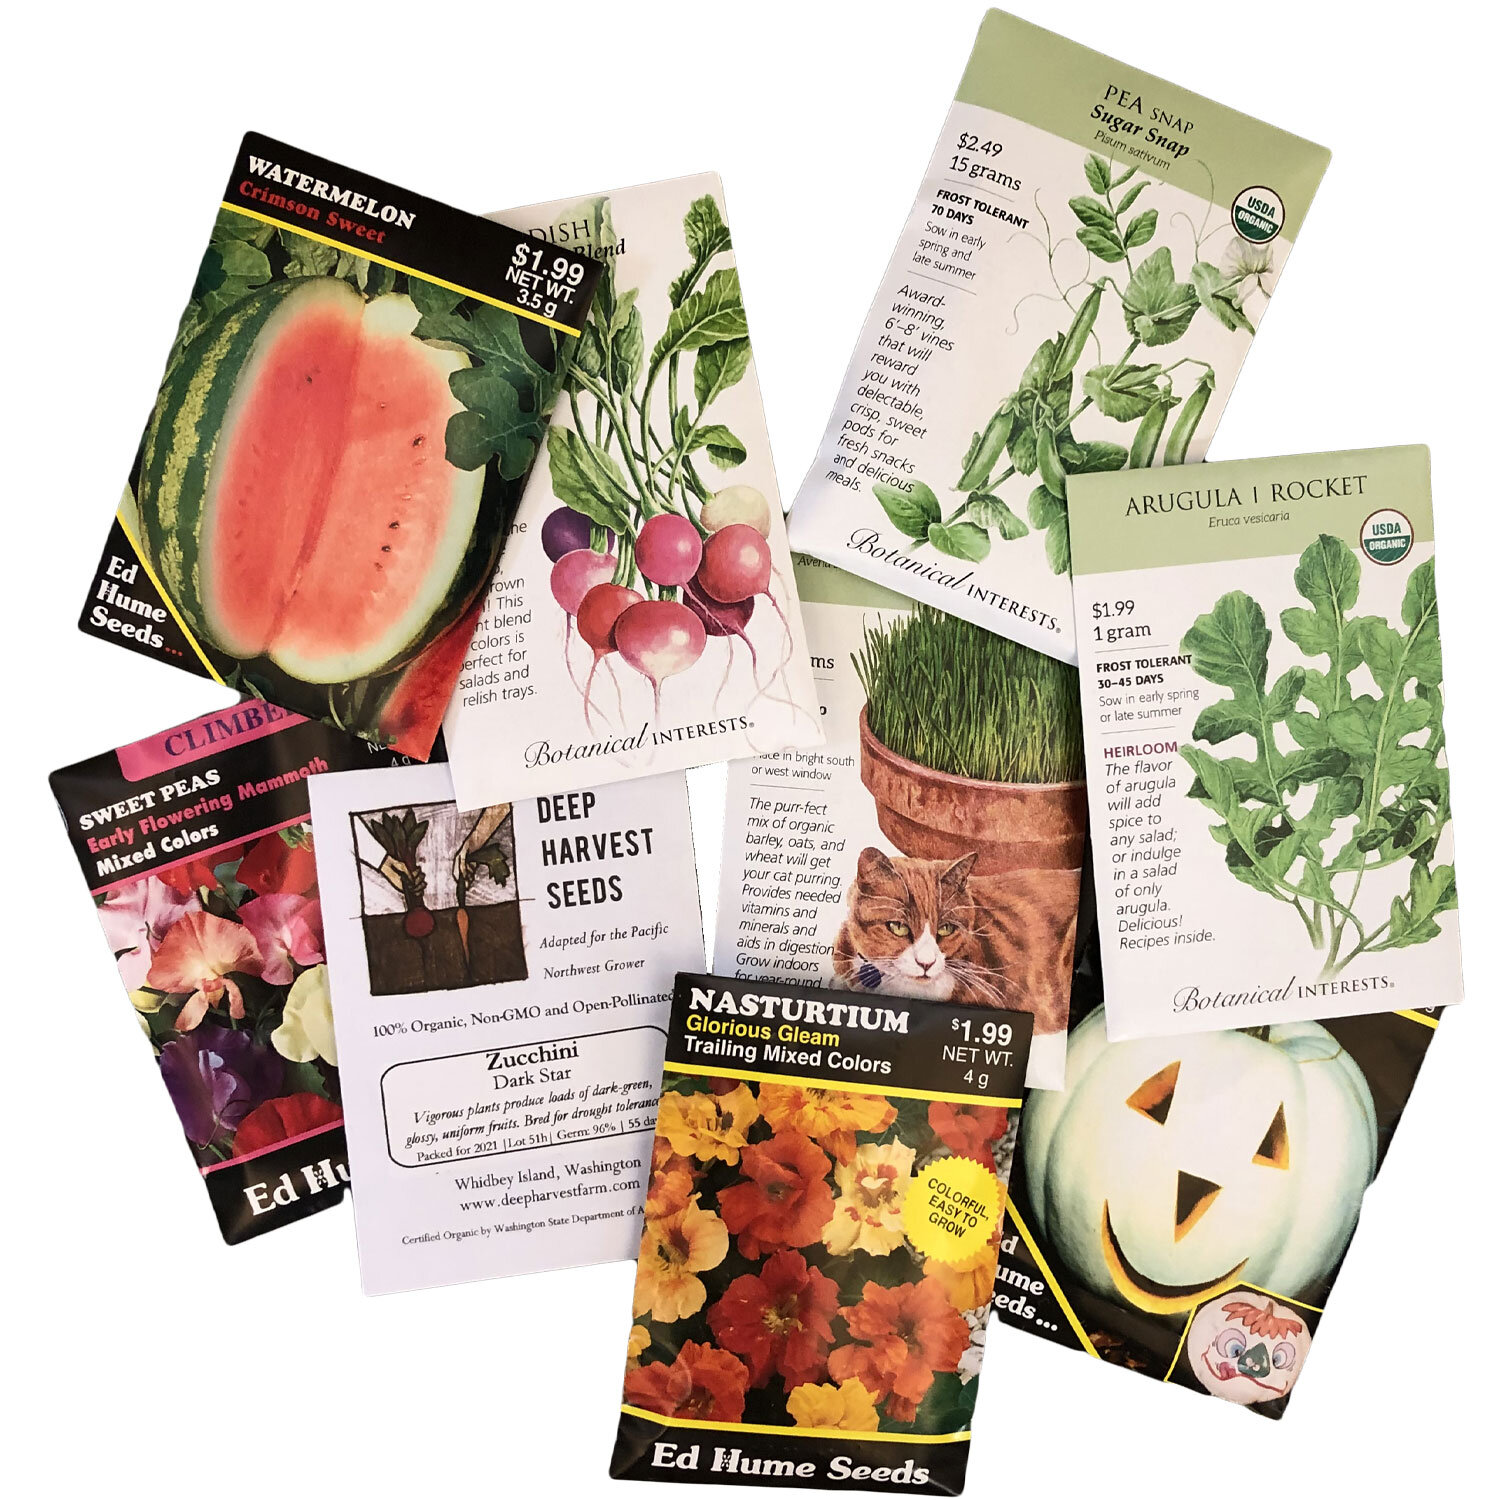
Seeds
Now for the best part: the seeds! Lots of vegetable, herb, and flower seeds can be started indoors and transplanted into the garden or into outdoor pots when the time is right. Here are a few options with their ideal sowing times.
It’s always advisable to check your seed packet for exact timing and to see whether it is recommended to sow that particular seed indoors or directly into the garden. Crops like lettuce, arugula, and spinach can be sown outside by early March. Beets, radishes, and carrots are generally sown directly outside rather than indoors because they dislike being transplanted.
Sow in January: arugula, lettuce, onions, scallions
Sow in February: arugula, broccoli, calendula, eggplant, kale, lettuce, onions, pansies, parsley, peas, peppers, snapdragons, spinach, tomatoes
Sow in March: bachelor’s buttons, broccoli, cauliflower, corn, cosmos, eggplant, marigolds, nasturtiums, pansies, parsley, peppers, tomatillos, tomatoes, Swiss chard, zinnias
Sow in April: basil, beans, bok choy, cucumbers, ground cherry, melons, pumpkins, squash (summer and winter), tomatillos, zinnias

How to Start Seeds Indoors in 4 Easy Steps
You’ve gathered your supplies, personalized it all to make it unique and beautiful, and you’re ready to start. Here we go!
Step 1
Fill a large bowl with seed-starting mix and mix in a little water to evenly moisten the soil. You might want to wear a face mask because this soil is very fine and can irritate your airways.
Step 2
Place your seed tray inside the drip tray and fill each cell to just below the top with soil.
Step 3
Sow your seeds. If the seeds are tiny, like lettuce or arugula seeds, sprinkle just a few of them over the soil; if they’re larger, like pumpkin, or nasturtium seeds, you can push 2 seeds into the soil in each cell (one is a backup in case one doesn’t germinate). Sprinkle a little more soil over the top to cover the seeds and mist until the surface is damp.
A good rule of thumb is to plant the seed to the same depth as its thickness. For example, lettuce seeds need only a tiny sprinkling of soil to cover them but a nasturtium should be covered with about 1/4” of soil.
Step 4
Cover the tray and place it under your lights on the heat mat. Don’t forget your plant labels!

Seedling Care
Light
Most seeds can germinate in darkness or light (one exception is lettuce, which needs light) but once the seeds have sprouted, keep the lights on about 12-16 hours per day. Adjust the lights or the trays as your seedlings grow to keep the lights 2”-3” above them.
Watering
Check on your seedlings at least once or twice a day to see if they need misting. You want the surface of your soil to stay lightly damp because if your seeds dry out they won’t germinate but if they stay too wet, they could rot. When at least 1/2 to 2/3 of the seeds sprout, you can remove the cover. Now you want to be extra vigilant about keeping the seedlings moist (but not soggy) because moisture will evaporate more quickly.
After the plants have been growing for a while and are larger, you can switch from misting to watering using a watering can (with a rain nozzle so you don’t bowl them over with a flood of water) or you can water from underneath, filling your drip tray to cover about the bottom quarter of the cells. The soil will absorb the water as needed. No matter which method you use, be sure to check at least once daily to make sure they aren’t drying out.
Thinning
If several sprouts have come up, you might want to thin them when the first true set of leaves emerge. I know, it’s hard. It’s emotional. But it gives the remaining seedling room to grow and thrive. Snip off all but one sprout at the soil line to avoid disturbing your favorite seedling’s roots (we all have favorites; it’s okay).
Fertilizing
After two sets of true leaves have emerged, you can start fertilizing with a water-soluble fertilizer or fish emulsion (beware: fish emulsion is a great fertilizer but it has a certain… what shall we call it? A certain malodorous bouquet (not for the faint-hearted). Dilute your fertilizer to 1/4 the amount recommended on the package and fertilize every two weeks.

photo: Horticulture Magazine
Transplanting
Your babies are all grown up. Or at least they’re teenagers and you want them out of the house until they adjust their attitudes. In any case, the time has come to harden them off (sounds like tough love but it’s for the best). Then you can plant them!
Harden Off Your Seedlings
Remember last April - that first warm sunny day? You pulled on your shorts, tank top, and flip-flops, and ran out to offer yourself up to the sun goddess? Then, after a day of ecstatic frolicking, you came home and realized that your tender PNW skin was burnt to a crisp? So, now you’re sunburnt and embarrassed and wishing you’d shown a bit more restraint? Yeah, seedlings feel like that, too.
Those indoor lights are far less powerful than the sun. So you have to gradually prepare them for the great outdoors. This is called hardening off. It will take about a week, give or take. Day 1: place your seedlings outside in a protected area in the shade for an hour or so, then bring them back inside. Day 2: repeat, extending the time by an hour or two. Day 3: repeat, possibly allowing some morning sun.
Repeat, repeat, repeat. Each time allowing your plants to stay outside longer (if the night temperatures are moderate, you can even leave them outside overnight) and get a little more sun each day. At the end of the week, they will be ready for planting.
Hardy seedlings can begin the process of hardening off once they have 3-4 true leaves. Start hardening off your tender plants about 1 week before you plan to plant them outside.
A Few Planting Tips
Cucumber and squash don’t take kindly to people messing with their roots, so try not to manipulate them too much when you transplant them.
Bury tomatoes deep. Otherwise, the Law might find them (joking). If you bury up to about 2/3 of the stem, roots will grow from each leaf node, making them stronger.
Be sure to water your new seedlings well after planting and keep a regular watering schedule. Seedling have small roots so they can dry out quickly.
When to Plant Your Seedlings Outside
Sowing and transplanting dates are determined by their distance from the last expected frost, which can kill half-hardy and tender plants. In Seattle, our last frost can be as early as mid-March but since it varies, we generally place it on April 15th to be extra safe. Everyone has a different opinion on when to transplant so refer to your seed packet for specific recommendations.
Transplant 4 weeks before last frost: scallions, spinach
Transplant 2 weeks before last frost: arugula, broccoli, calendula, kale, lettuce, onions, parsley, snapdragons
Transplant on our right after last frost: bachelor’s buttons, cauliflower, corn, cosmos, marigolds, nasturtiums, pansies
Transplant 2 weeks after last frost: beans, bok choy, ground cherries, melons, squash (summer and winter), tomatillos, tomatoes, zinnias
Transplant at least 4 weeks after last frost: basil, cucumbers, eggplant, peppers
Time to get out there and start some seeds! If you have any questions, we at Swansons are happy to help. Ask us in person or email us at garden@swansonsnursery.com. You can also send us pics and updates on social media using #heyswansons! We love to see your baby veggies!